Restoring an Antique Apothecary Cabinet: From Candy Shop Display to Showpiece: a Step-by-Step Guide
By Amy from 2ndlife.furniture.restoration on YouTube
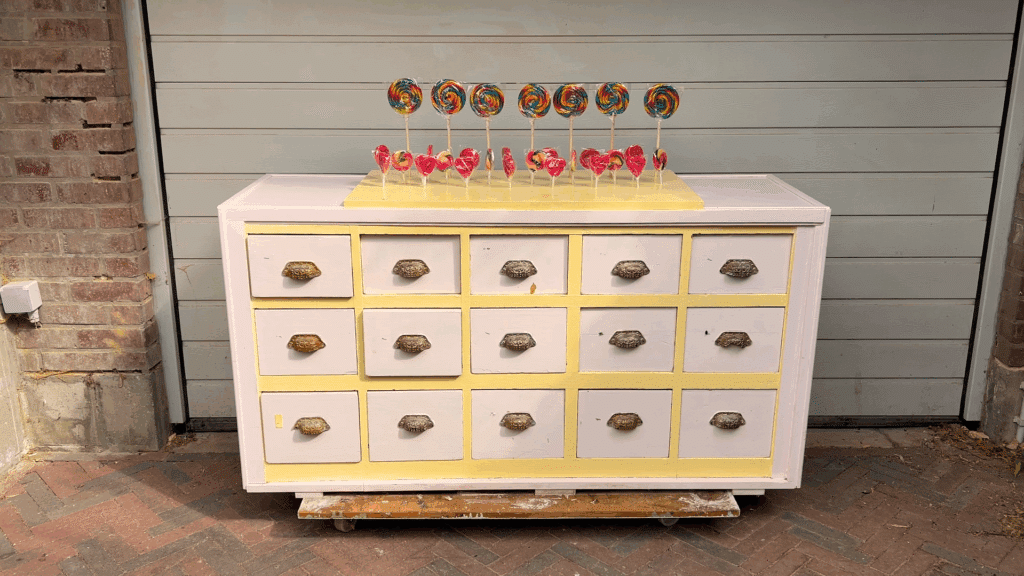
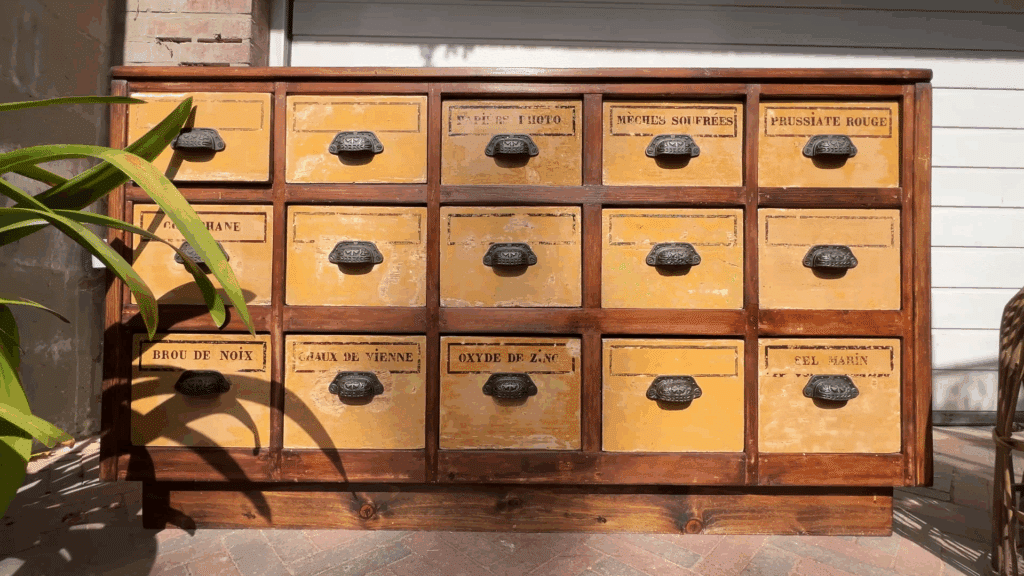
Have you ever wondered how to restore antique furniture and bring it back to life? In this post, I’ll walk you step by step through my furniture restoration project: an old apothecary cabinet I bought for €100.
At first glance, it looked more like a cheap conversion project than a valuable antique. The seller had used it as a lollipop display stand in a candy shop, with bright paint and paper lining inside the drawers. But I bought it anyway, trusting the seller’s word. Still, something about the cabinet felt off and I couldn’t shake the thought that I might have just wasted €100 on what wasn’t really an antique.
In this guide, I’ll take you along as I strip away layers of paint, repair broken parts, and restore the original antique hardware. And by the end, you can decide for yourself whether this old apothecary cabinet was really worth the $100 investment.
👉 Want to see the full process in action? Watch my YouTube video on furniture restoration:
Contents
● Materials You’ll Need for Antique Furniture Restoration
● Step 1: Inspecting the Antique Apothecary Cabinet
● Step 2: Testing for Lead Paint
● Step 3: Disassembling the Antique Cabinet
● Step 4: Removing Paper from the Drawers
● Step 5: Restoring the Antique Handles
● Step 6: Rebuilding the Antique Cabinet
● Step 7: Refinishing the Antique Cabinet
● Step 8: Applying a Shellac Finish to the Antique Apothecary cabinet
● The Final Result: Was It Worth It?
Materials You’ll Need for Antique Furniture Restoration
Here’s what I used to refinish and repair antique furniture:
Safety equipment
● Dust mask (I recommend the BASE CAMP mask with replaceable filters
(use code 2NFR10 for 10% off)
● Nitrile gloves
Paint stripping
● Lead paint test kit
● Putty knife
● Paint stripper
● Plastic wrap to speed up the stripping process
Repair & restoration tools
● Heat gun
● Plywood sheets
● Japanese hand saw
● Wood glue & clamps
● Orbital sander
● Sandpaper (60–80 grit coarse, 120 & 220 grit fine)
● Feed-n-Wax wood polish
Hardware restoration
● Slow cooker (for cleaning hardware)
● Baking soda
●Steel wire brushes
● Kinetic sand
● Soldering iron & pewter for repairs
● Black patina
Finishing
● Walnut stain
● Shellac polish (for a traditional French polish finish)
● Cotton pad applicators
Step 1: Inspecting the Antique Apothecary Cabinet
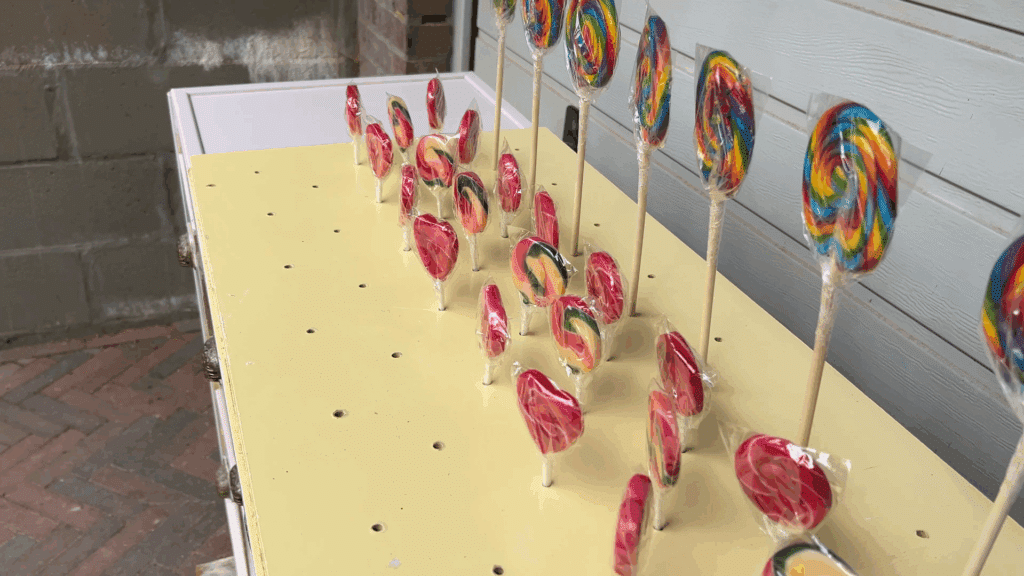
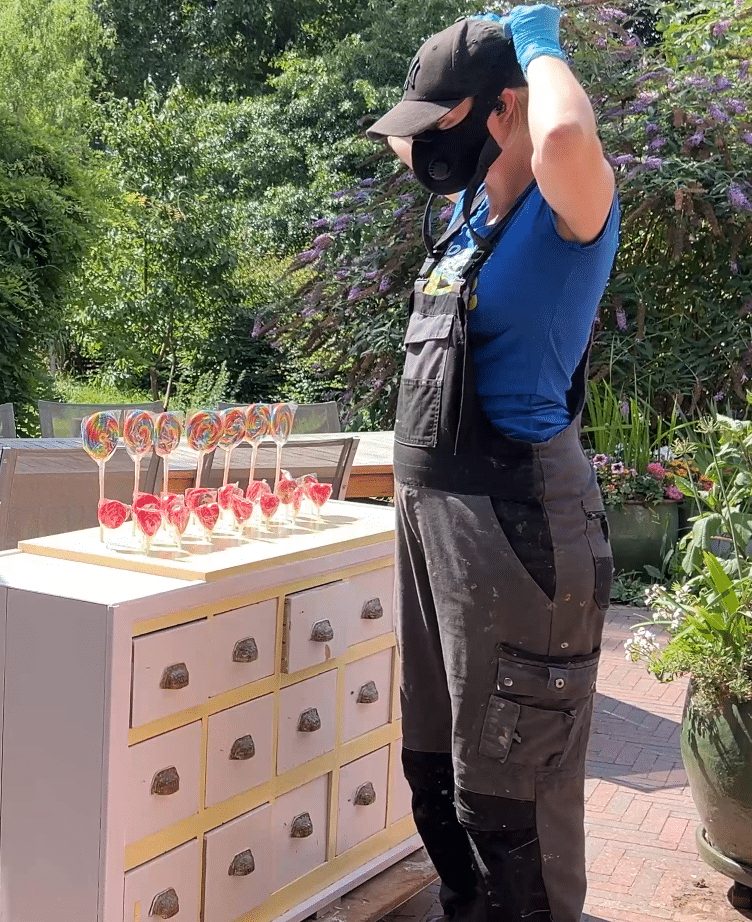
The cabinet I found had been completely altered: the top had holes cut out to hold lollipops. What was once a stylish antique apothecary cabinet had been turned into a colorful candy display rather than a valuable piece of history. The entire piece was painted over in white and yellow, and the inside of each drawer was lined with bright paper. I had hoped the paper would be easy to remove, but that quickly turned out to be wishful thinking.
The seller assured me that this was truly an antique cabinet. Yet, apart from the beautiful original handles, there was little evidence to suggest it was genuinely antique. I began to wonder, had I overpaid for this piece? Or was this project actually the perfect chance to challenge myself and push my passion for antique furniture restoration and refinishing even further?

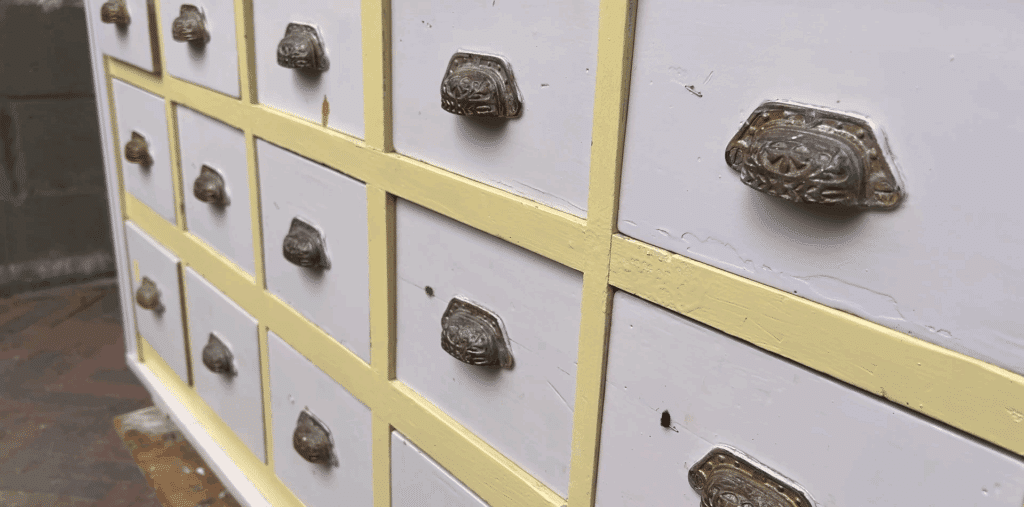
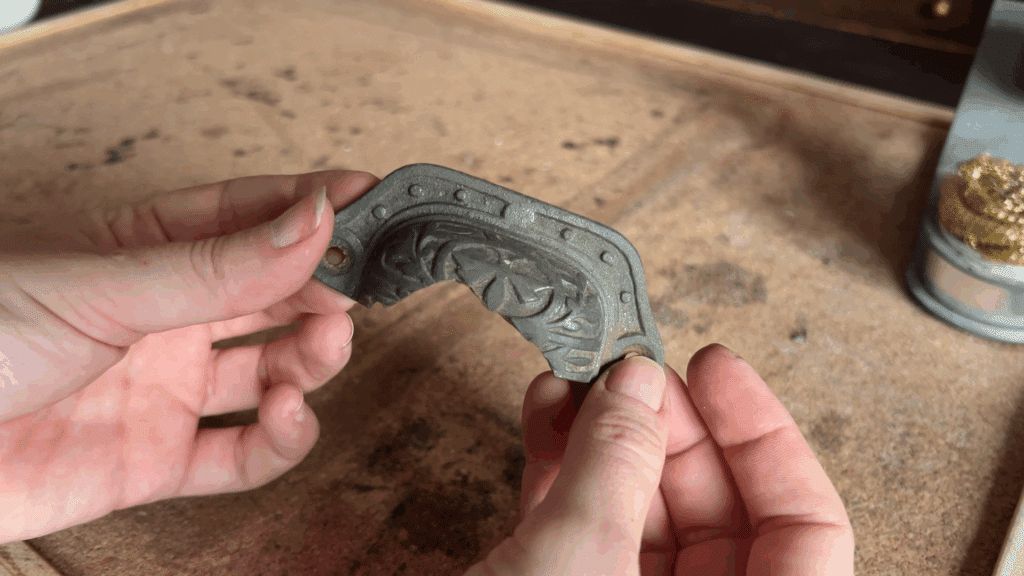
On closer inspection, I discovered that two of the original handles were partially broken. Since antique hardware is such an important detail in the character of a cabinet, I knew I wanted to preserve them at all costs. For me, this is at the heart of true antique furniture restoration: not replacing pieces with modern parts, but saving and repairing as many of the original elements as possible.
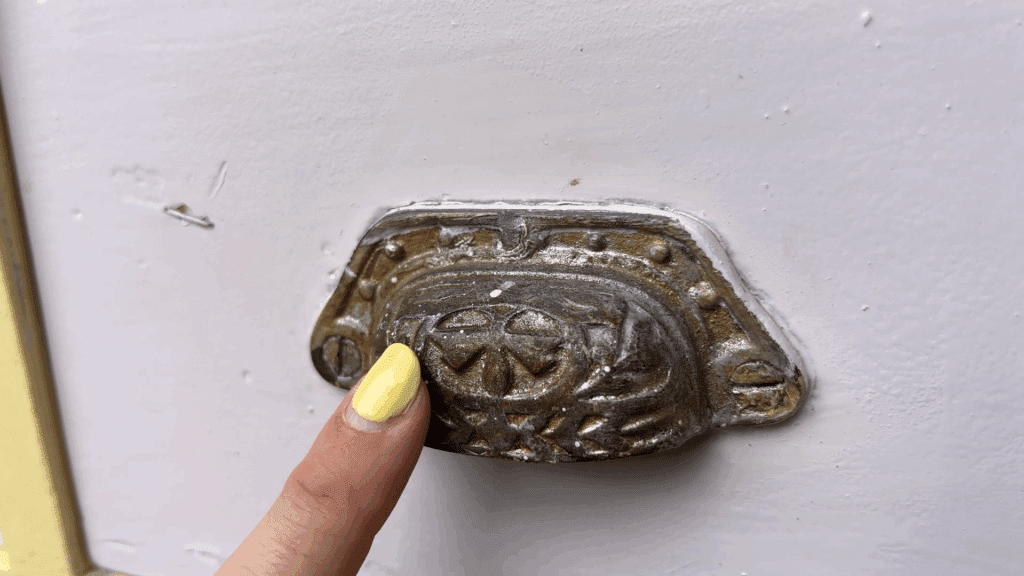
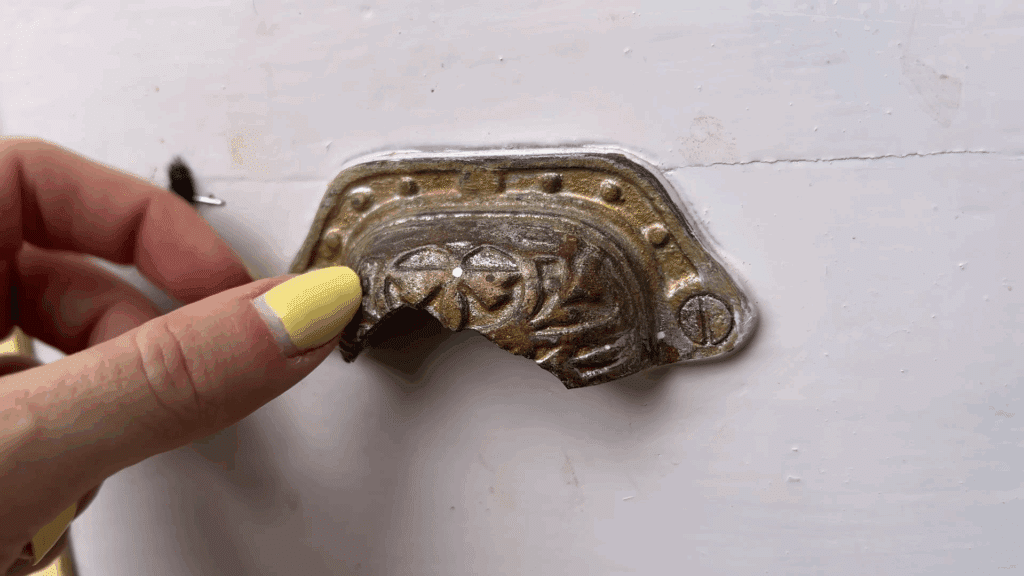
This immediately gave me an extra challenge within the project. In addition to stripping the paint and refinishing the cabinet, I now had to find a creative way to restore the handles. Details like these are what make the difference between simply freshening up an old piece of furniture and carrying out a true antique furniture restoration where authenticity is preserved.
Step 2: Testing for Lead Paint
When restoring antique furniture, you always have to consider old types of paint. With older cabinets, there’s a high chance that some layers may contain lead-based paint. That’s why it’s essential to perform a lead test before you begin any restoration work. A simple lead test kit does the job.
When I tested this cabinet, the top paint layers turned out to be lead-free. But one of the lower layers did contain lead, an extra reason to proceed carefully and take the right safety measures while restoring the piece.
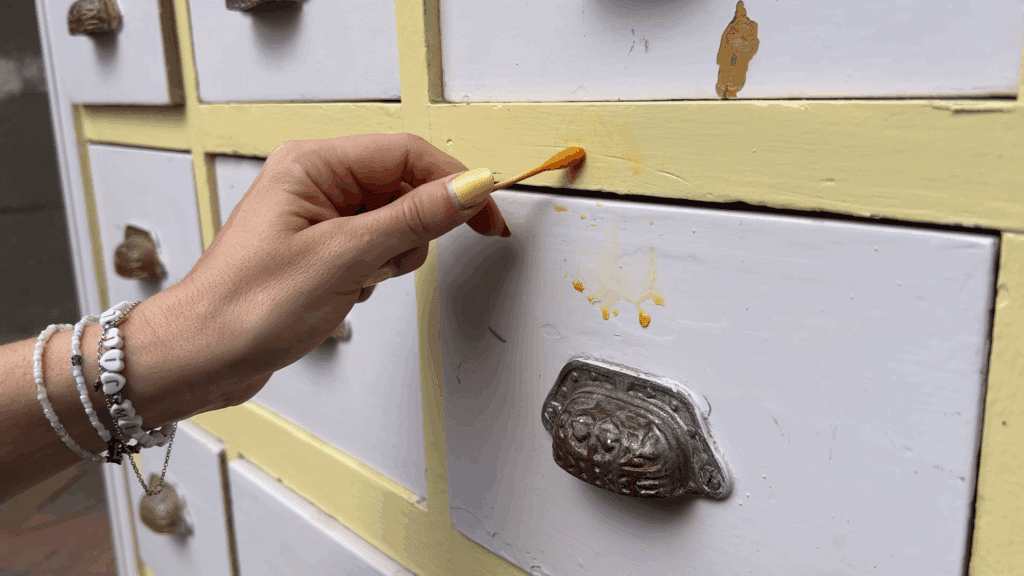
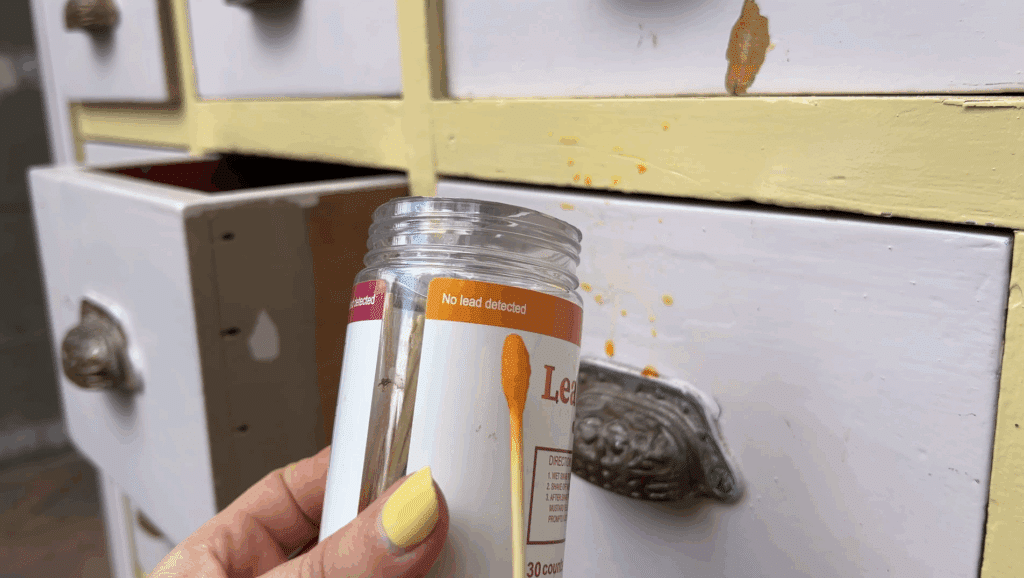
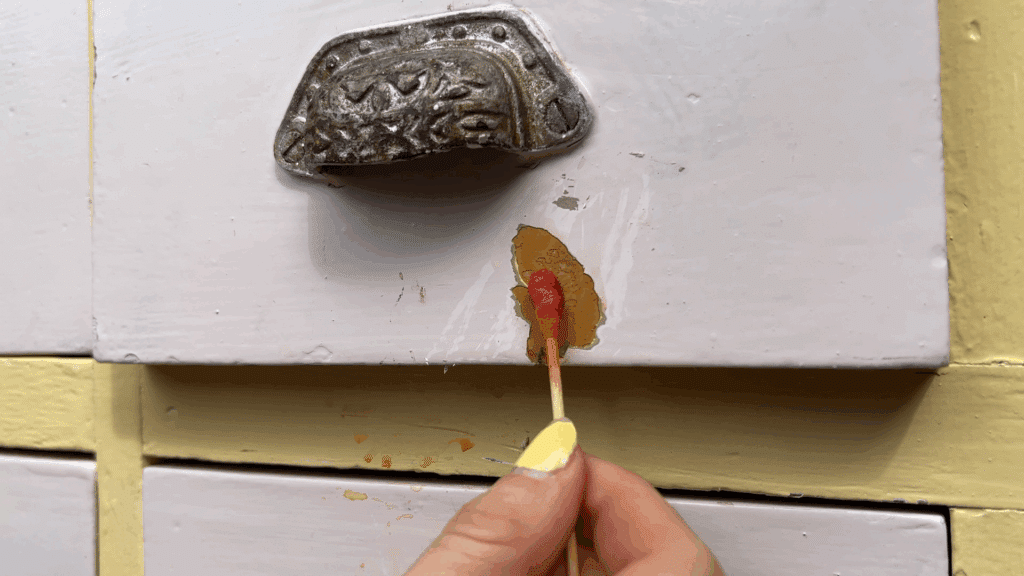
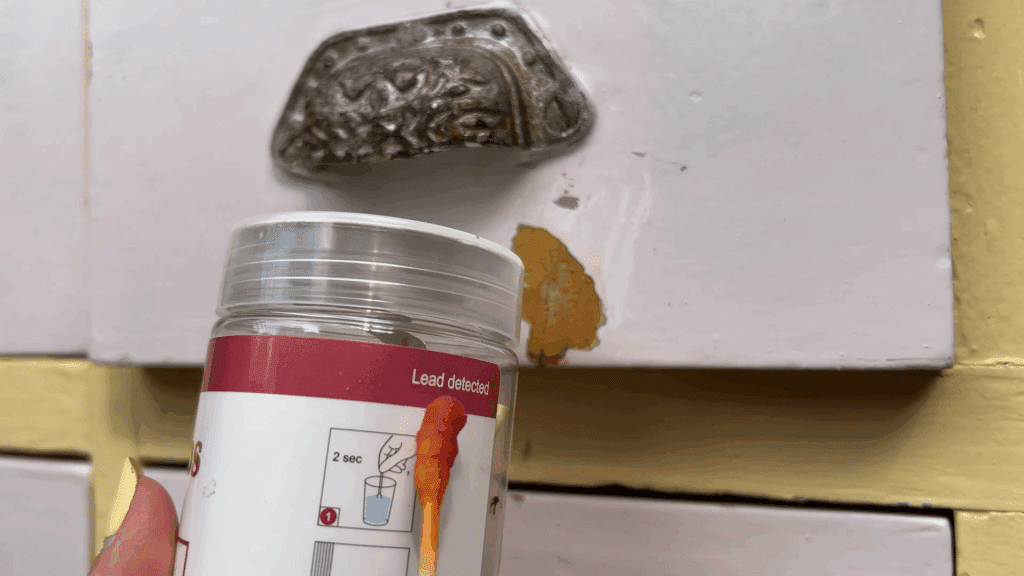
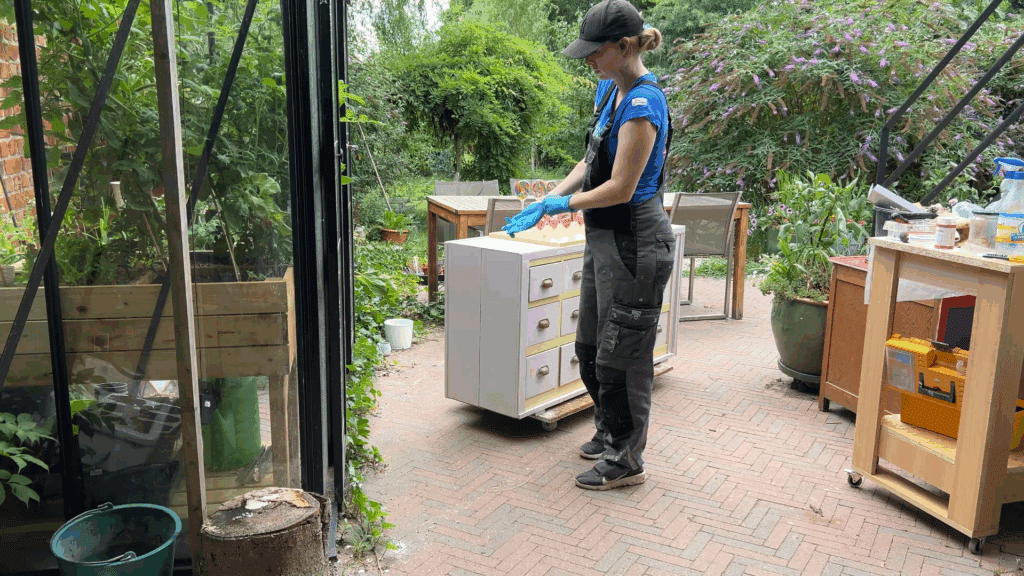
Before you start stripping paint, it’s important to protect yourself properly. I always wear nitrile gloves and a BASE CAMP mask with filters and I try to work as dust-free as possible. Especially with a project like this, safety comes first, you want to make sure no harmful particles or dust are released while working on this antique furniture restoration.
To protect yourself properly against lead paint, it’s crucial to always use the right safety gear. During my restorations, I always wear nitrile gloves, since they hold up much better against chemicals like paint stripper and solvents compared to regular latex gloves.
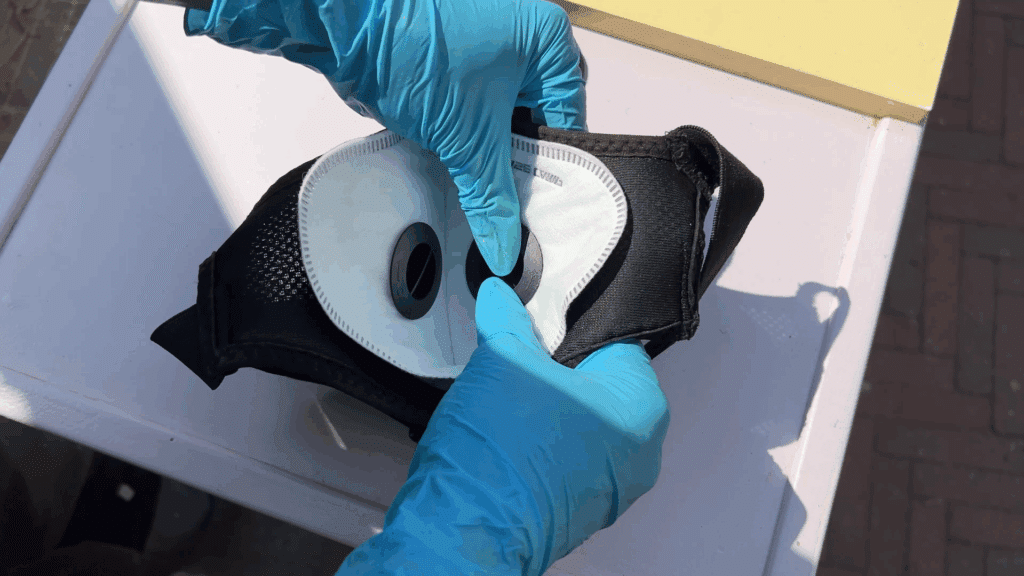
In addition to gloves, a quality dust mask is absolutely essential when working with old paint, especially during antique furniture restoration. My personal favorite is the BASE CAMP mask. What I like most about it is that the filters can be replaced very easily. That not only makes it safer and more effective, but also more sustainable and budget-friendly in the long run.
By replacing the filters regularly, your mask will keep protecting you against dust, sanding residue and the fumes from paint strippers. This is especially important when restoring antique furniture that may involve multiple layers of old paint, sometimes even lead-based paint. It’s a small but essential step for your safety. If you’d like to try a BASE CAMP mask yourself, you can use my code 2NFR10 for 10% off the entire site, I highly recommend it!
Step 3: Disassembling the Antique Cabinet
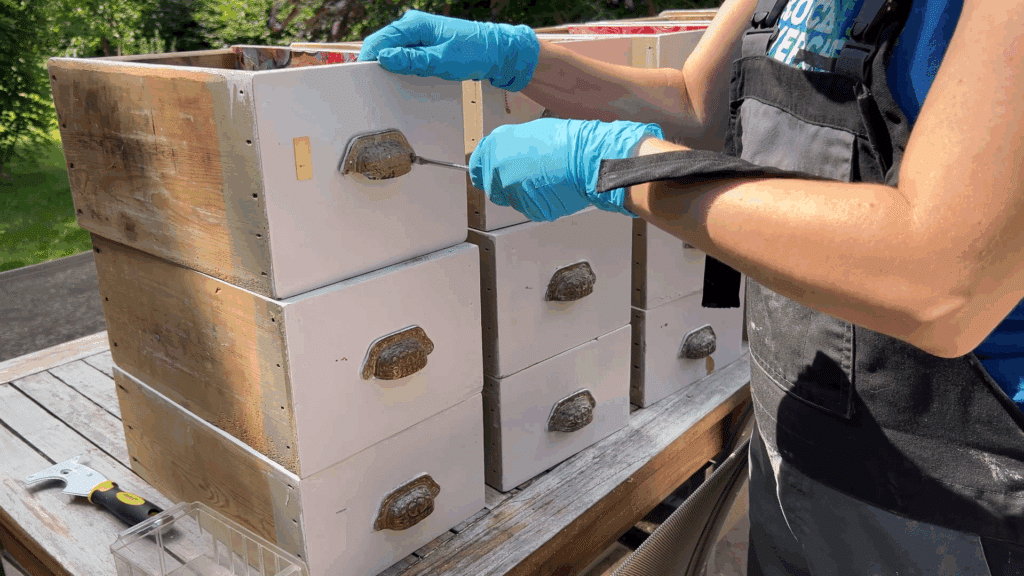
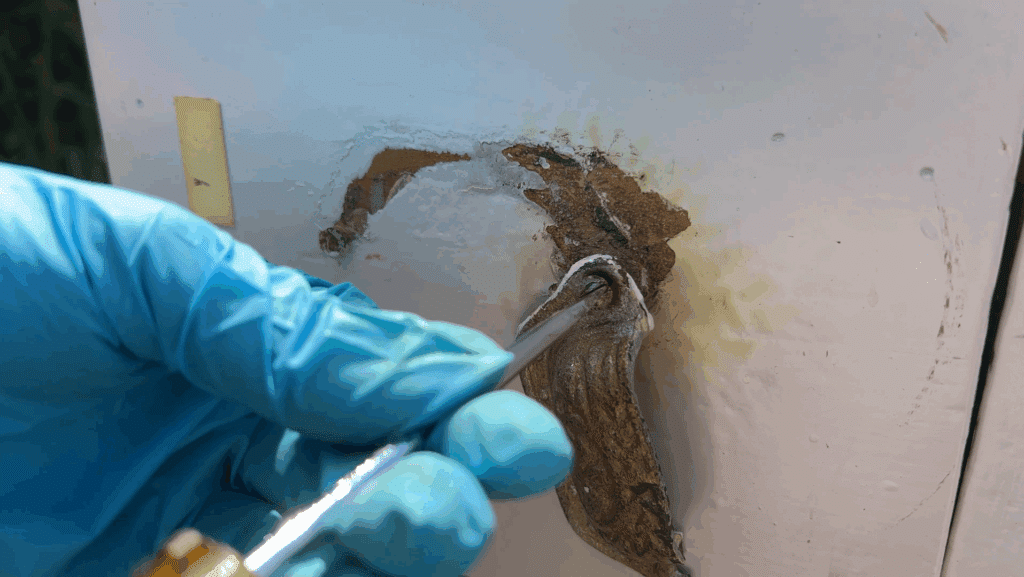
Before I could start stripping the paint, I first removed the old handles from the cabinet. These original details are often some of the most beautiful elements of an antique apothecary cabinet and deserve special attention. I set them aside carefully so I could restore them later in the process.
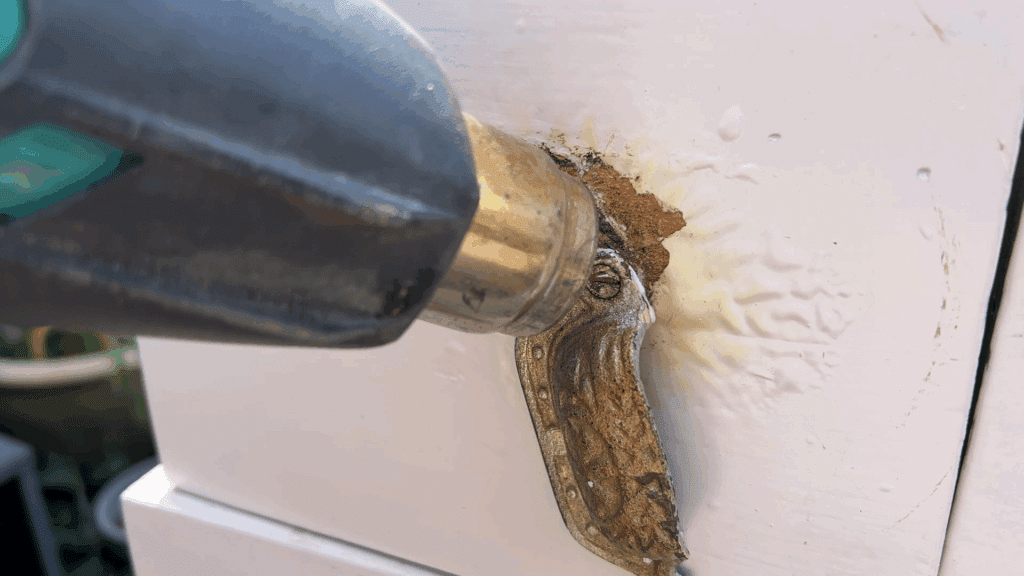
Of course the old rusty screws were completely stuck, but with a simple trick I managed to loosen them: by briefly heating the screws with a heat gun, they turned much more easily.
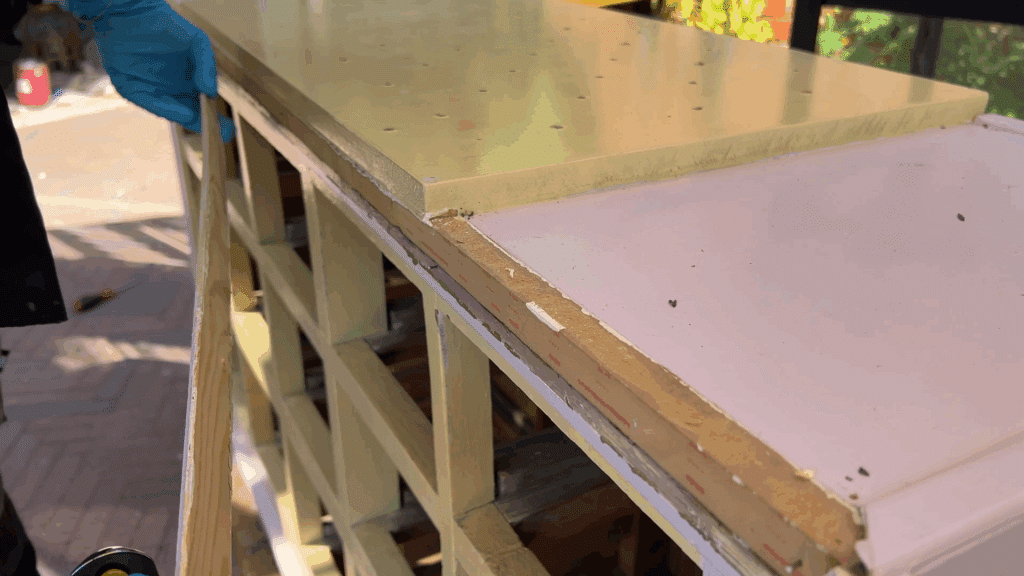
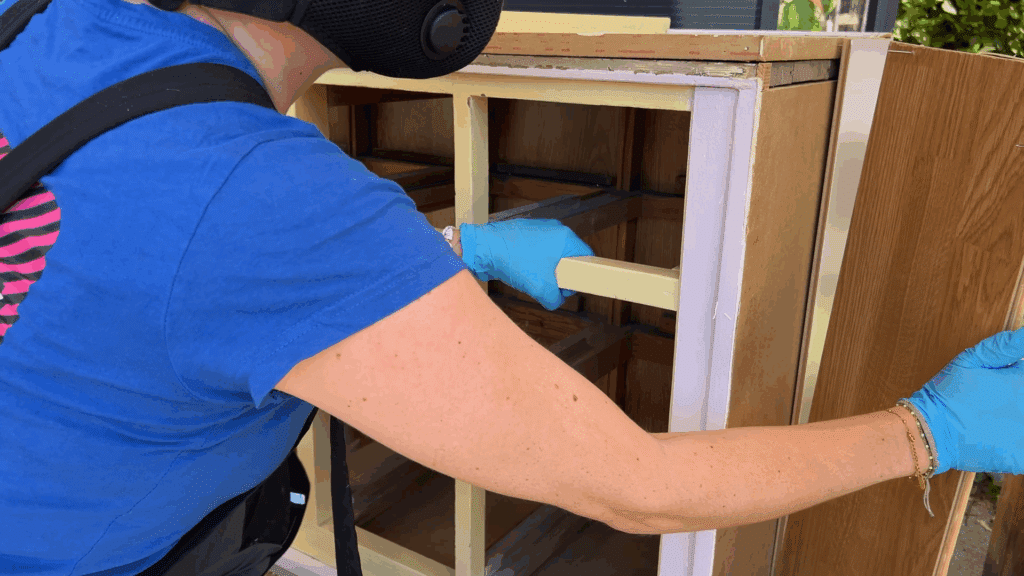
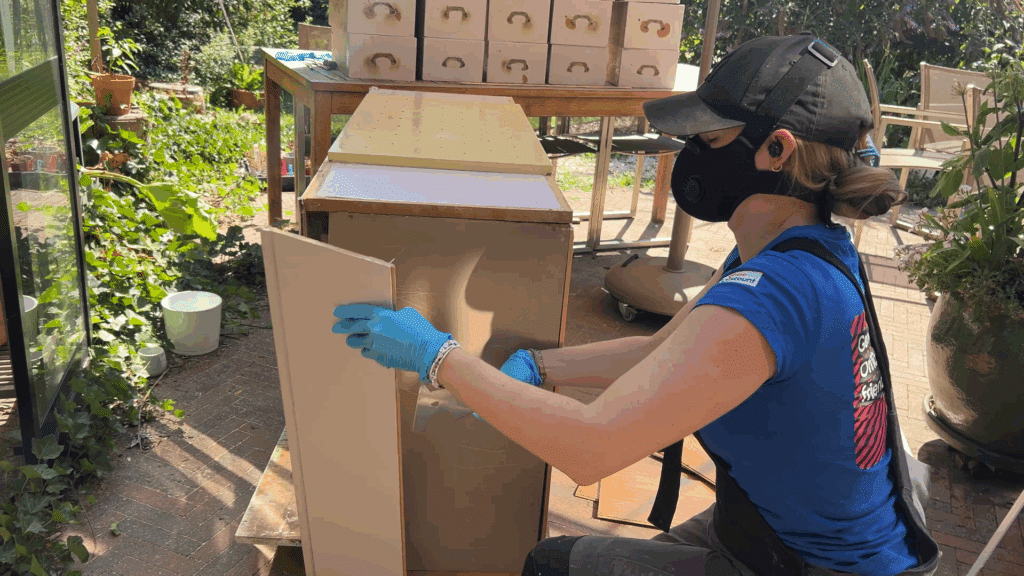
Next, I wanted to remove the top board, the one with the holes that had once been drilled for the lollipop stand. But the more I dismantled it, the stranger it became. The sides turned out to be covered with laminate flooring and underneath that were MDF panels. By the time I had stripped away all the added materials, only the bare skeleton of the cabinet was left.
That was a disappointing moment. After all, I had paid a fair price for what I believed was an antique apothecary cabinet, but so far I had seen little proof that the piece held any real value. I started to wonder if I had paid far too much for this cabinet.
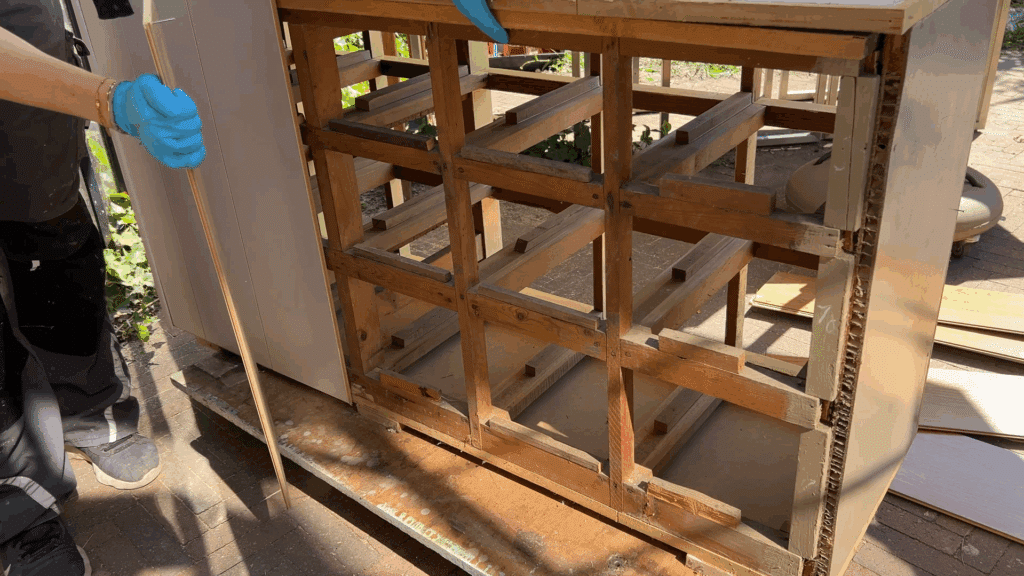
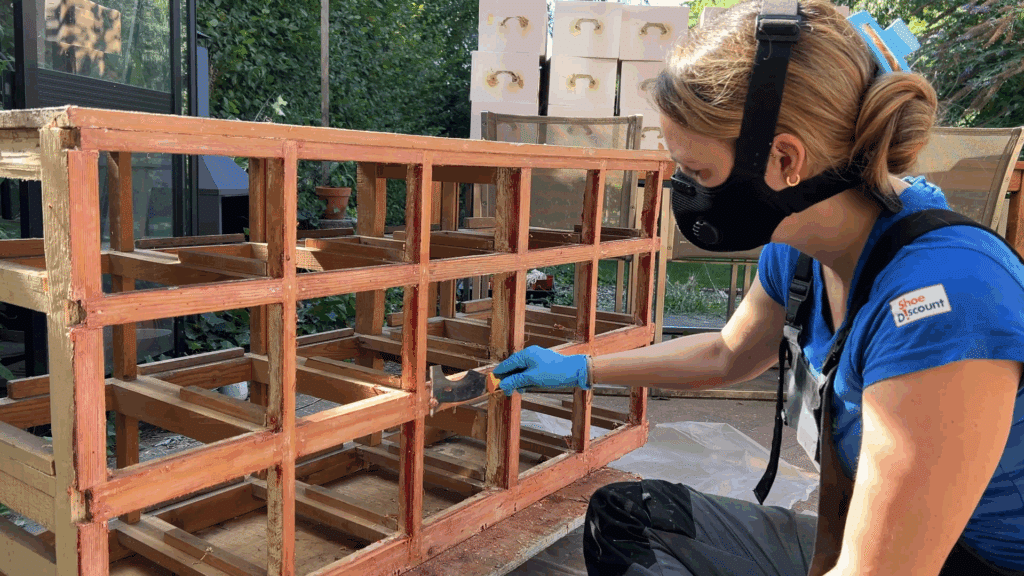
But all I could do was to continue and start stripping the old paint. Since there were so many layers on this cabinet, I quickly realized that sanding with a power sander would be an endless job. On top of that, some of the paint contained lead, which is much safer to remove without creating too much dust. That’s why I decided a paint stripper was the best approach.
I applied the paint stripper carefully and evenly, letting it sit for a few minutes, just as the instructions recommended. (Always read these carefully, since every product works a little differently!) Full of anticipation, I began scraping away the paint with my putty knife.
Unfortunately, the first attempt wasn’t a big success. The stripper had loosened some of the paint on the surface, but this was only the top layer. It quickly became clear that this was not going to be a quick project… In the end, it took no less than three rounds of paint stripper to remove all the layers of paint.
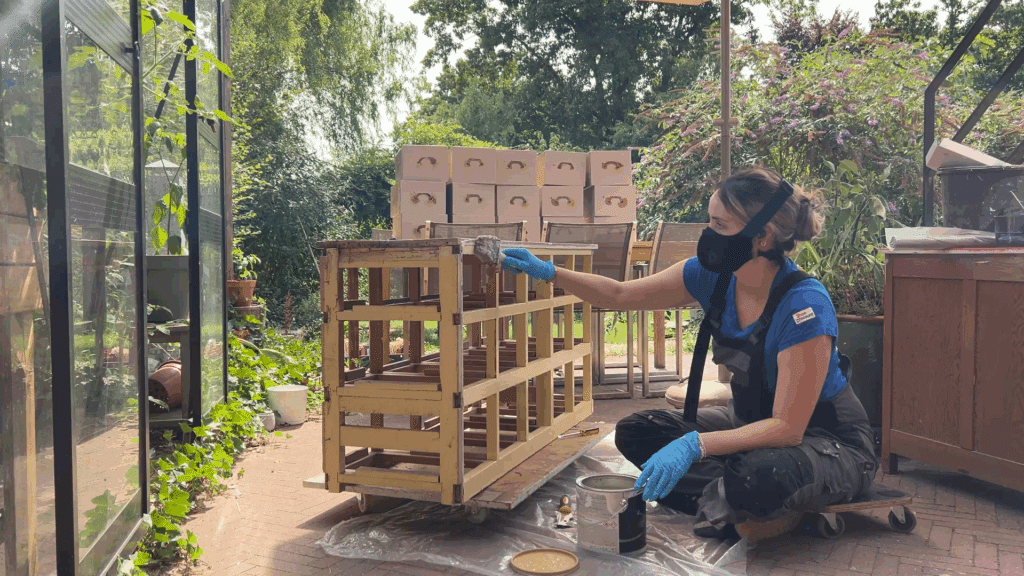
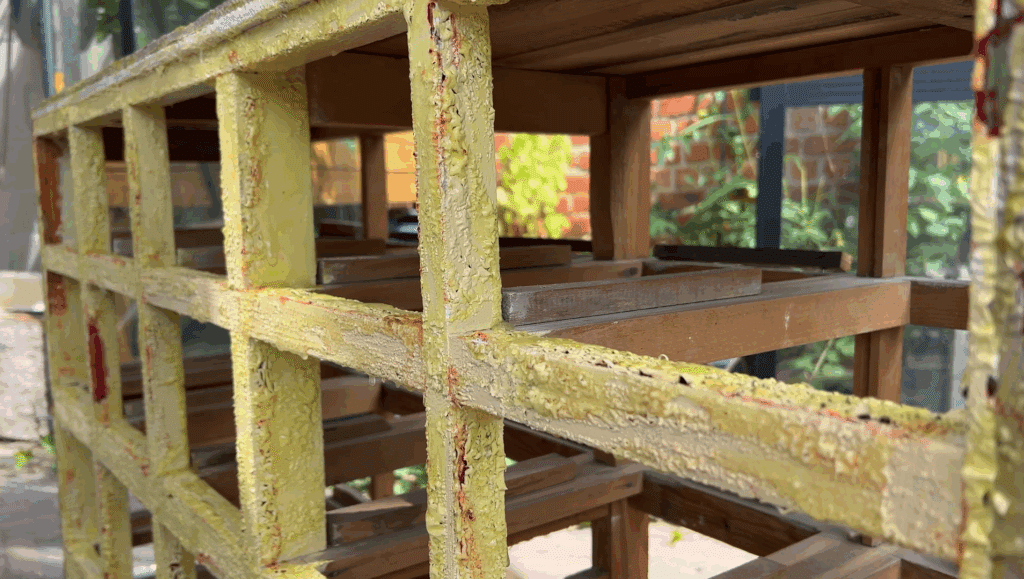
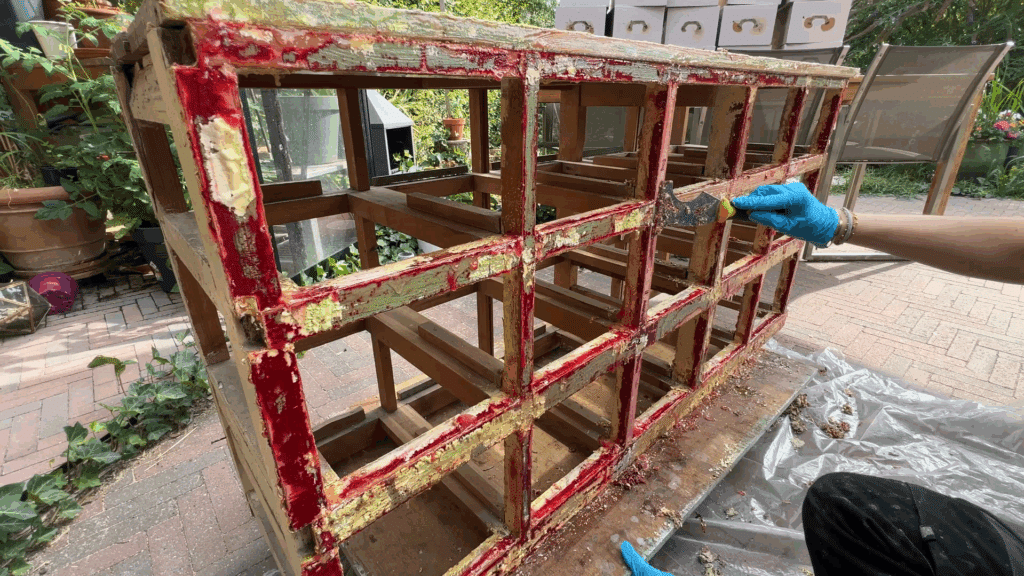
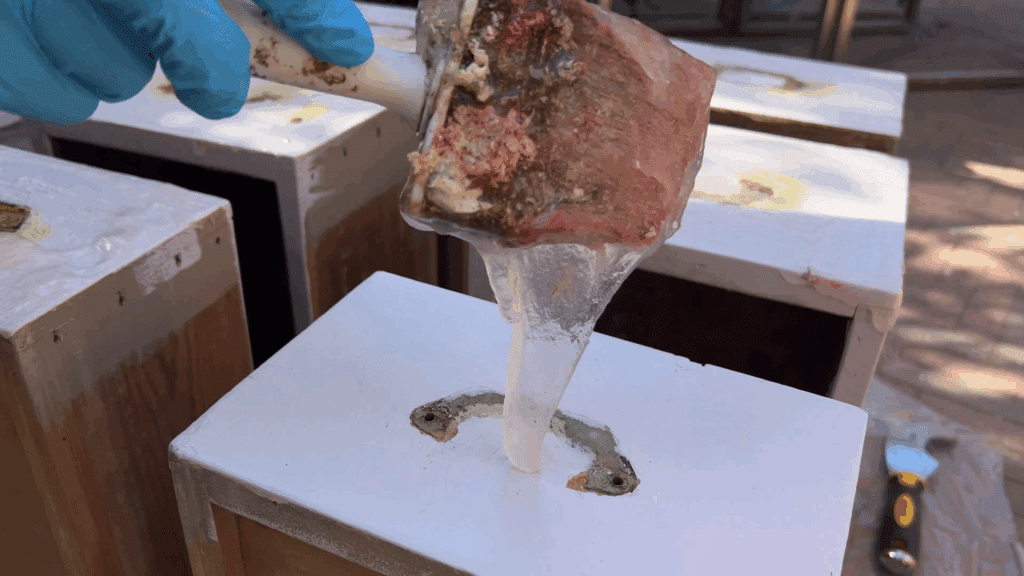
Next, it was time to strip the paint from the drawers. After my disappointing first attempt, I decided not to give up but to adjust my approach. I applied a much thicker coat of paint stripper and then covered it with plastic wrap. This prevents the product from drying out too quickly and allows it to penetrate deeper into the paint layers. My hope was that this method would cut through all the layers of paint in one go.
And then something unexpected happened, I made a discovery that completely changed the course of the entire antique restoration.
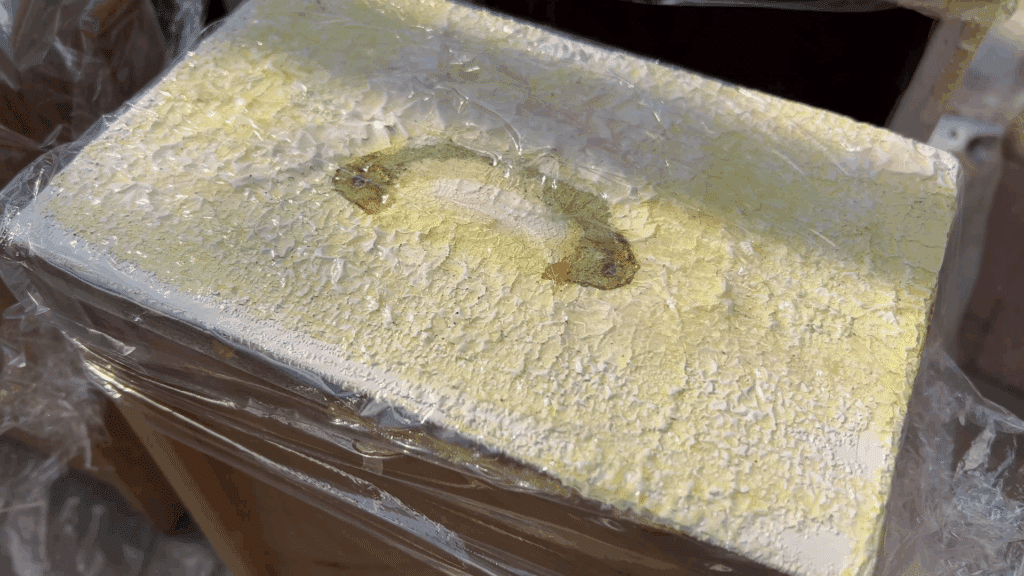
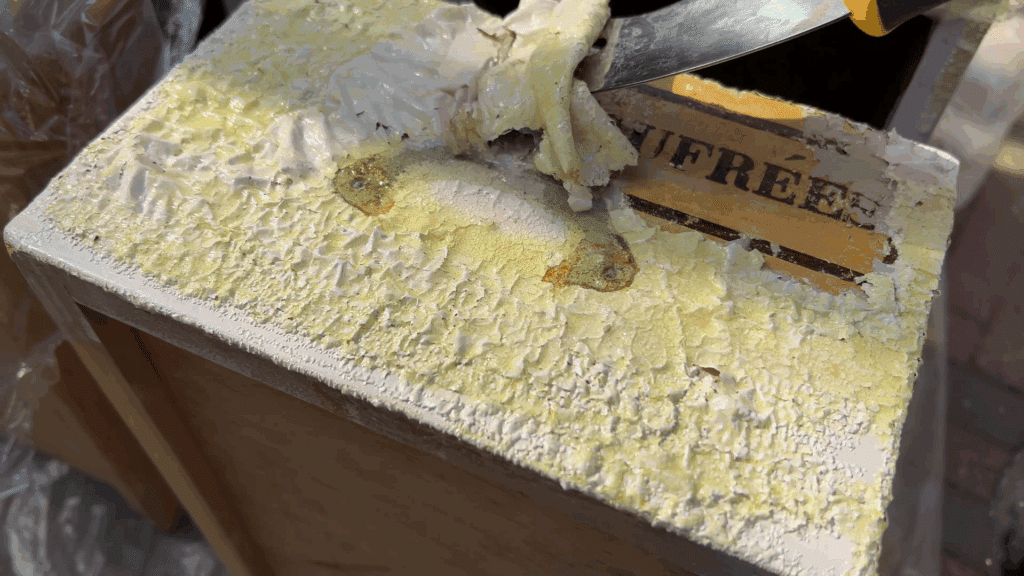
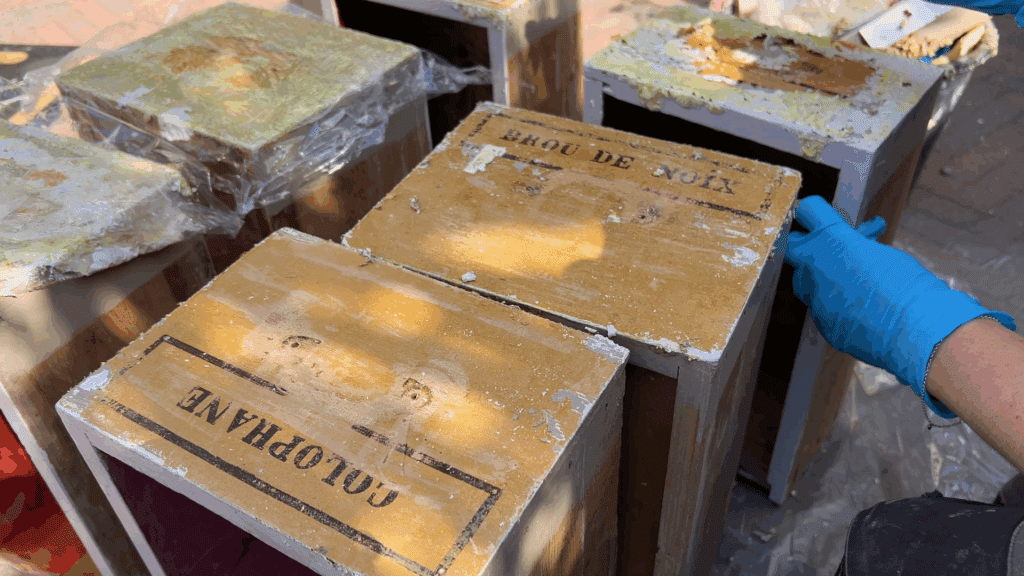
On the drawers, I found something I never would have expected! Beneath the thick layers of paint, the original stenciled labels appeared. These labels revealed the product names that had once been stored in the apothecary cabinet. For me, this was the ultimate proof that the piece was authentic and it was a truly beautiful moment in the restoration process. It was also the perfect discovery to capture for my YouTube video on antique furniture restoration.
As I continued stripping away the paint, I discovered that about half of the drawers still carried their original inscriptions with clear product names. The other half had only outlined frames but no lettering inside. This led me to believe the cabinet had once been used in a French droguerie (a type of old pharmacy or general store). The unlabeled drawers were likely meant for products that changed frequently and therefore didn’t receive a fixed name.
This insight gave the restoration an entirely new dimension. It was no longer just about refinishing an old piece of furniture, but about preserving a piece of history. The fact that this antique apothecary cabinet had once been used in such a practical and flexible way makes it even more fascinating to restore and worth preserving for the future.
Step 4: Removing Paper from the Drawers
After the paint was finally removed, it was time to tackle the next obstacle: the paper that had been glued to the inside of the drawers. This turned out to be anything but an easy task. I tried several different methods to loosen it, but nothing seemed to work well.
Eventually, I found the best method: a simple solution of warm water, vinegar, and soap. By spraying this mixture onto the paper with a spray bottle and letting it sit for a while, the glue slowly began to loosen. Then came the real work: scraping, scraping and… more scraping.
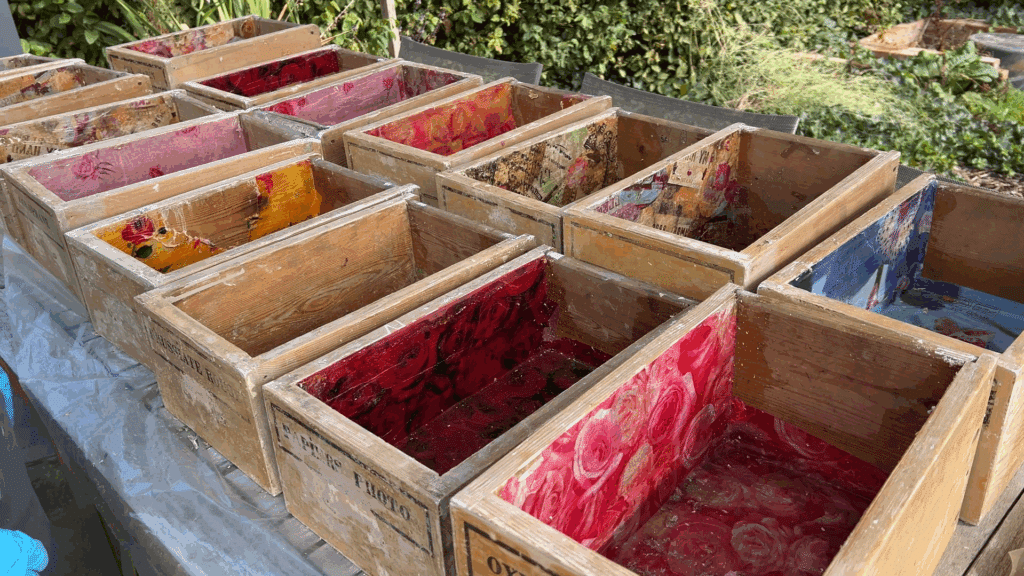
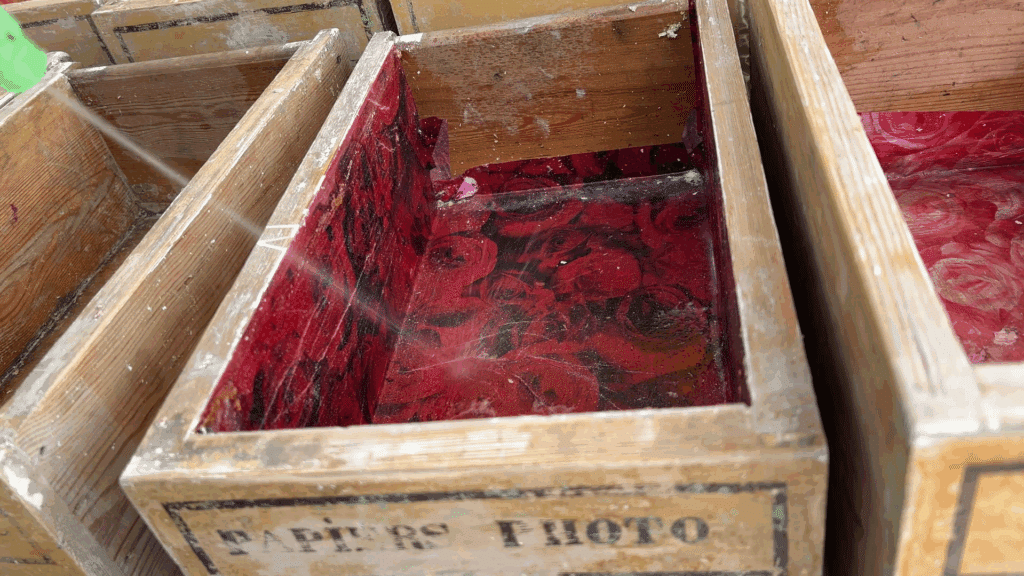
I spent days on this step, scraping drawer after drawer until all the paper was finally gone. This process required an enormous amount of patience and persistence, but it’s exactly this kind of work that makes the difference in a thorough antique restoration. When restoring antique furniture like this apothecary cabinet, it’s rarely about quick fixes. It’s about hours of careful, hands-on work. These small, time-consuming steps are what truly bring back a piece’s character and authenticity. I scraped for days until every last drawer was free of paper.
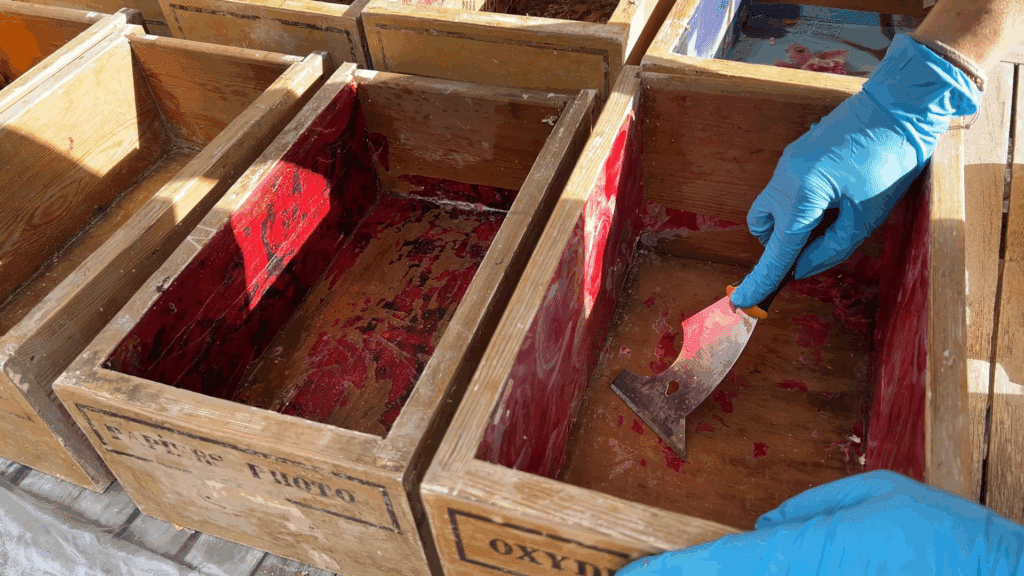
And then, after all those days of work, the paper was finally gone and the drawers were completely clean again. That moment when you see the bare wood revealed is always a small victory.
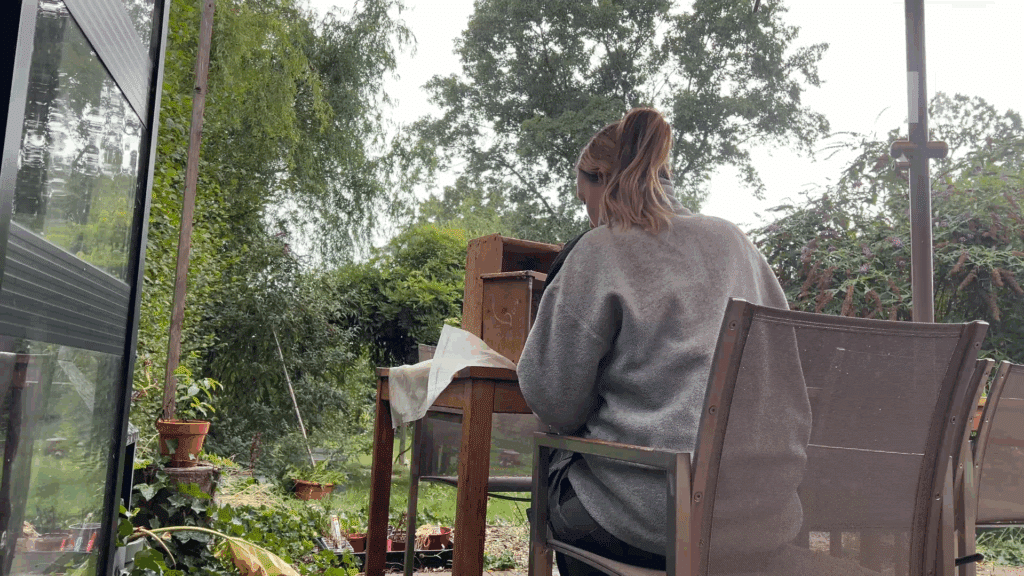
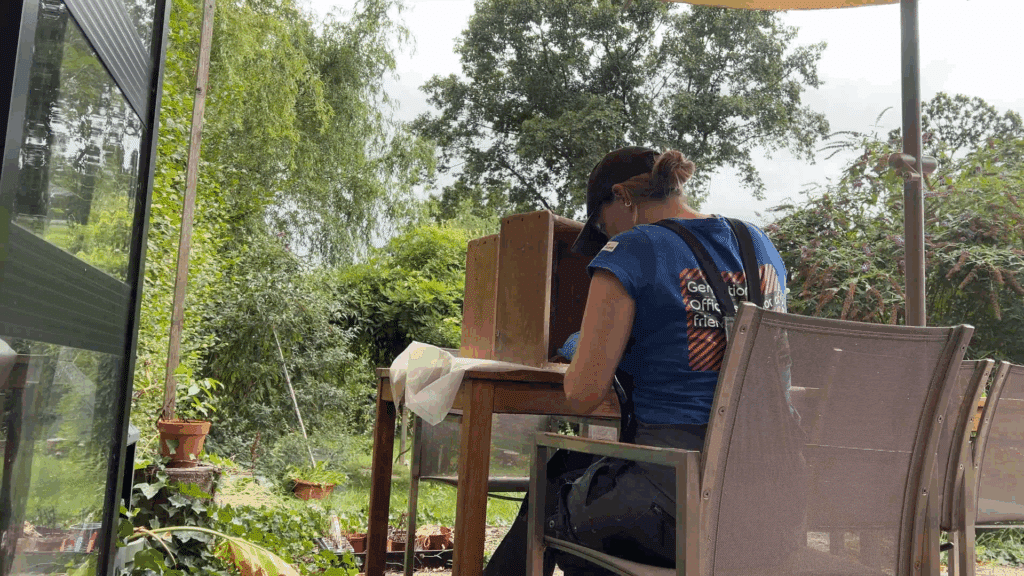
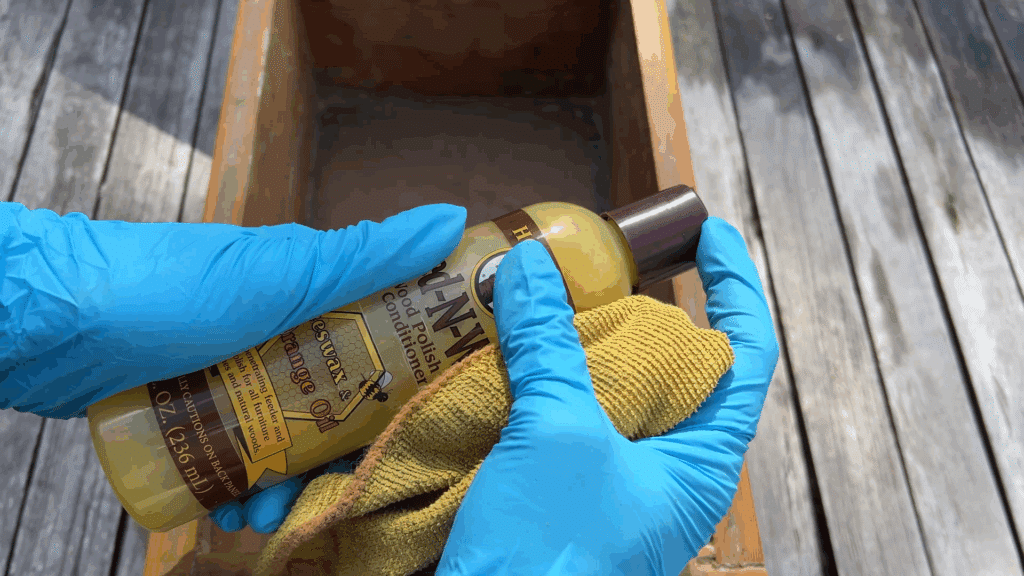
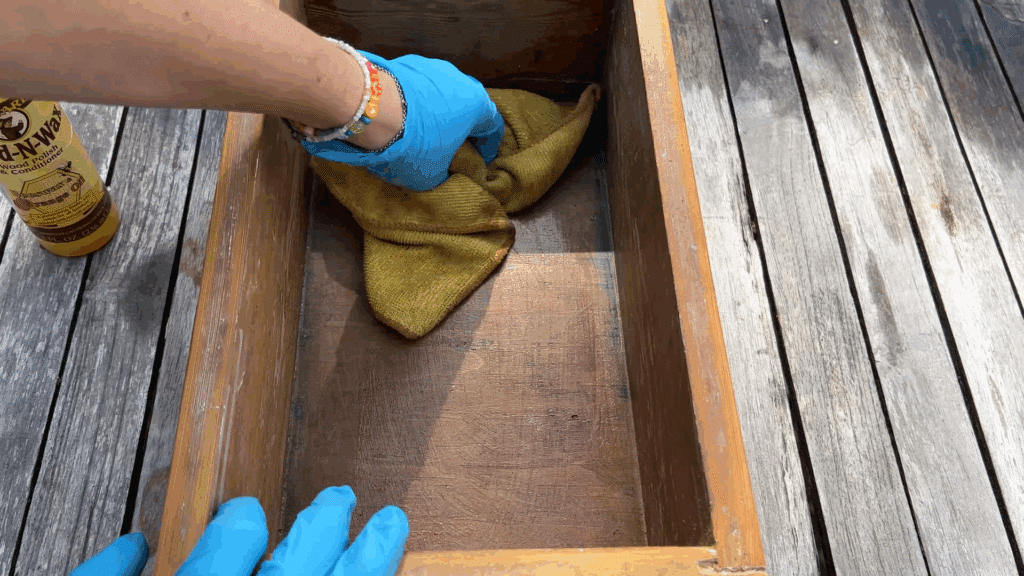
To make the wood shine again and protect it, I used one of my favorite products: Feed-n-Wax. It nourishes the wood deeply, gives it a warm glow, and brings out the natural grain beautifully.
Step 5: Restoring the Antique Handles
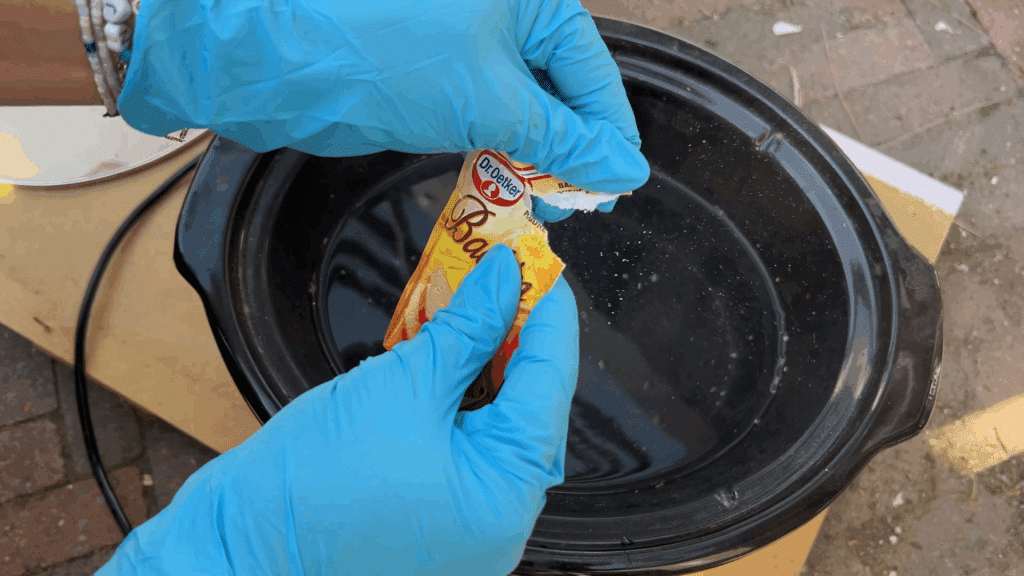
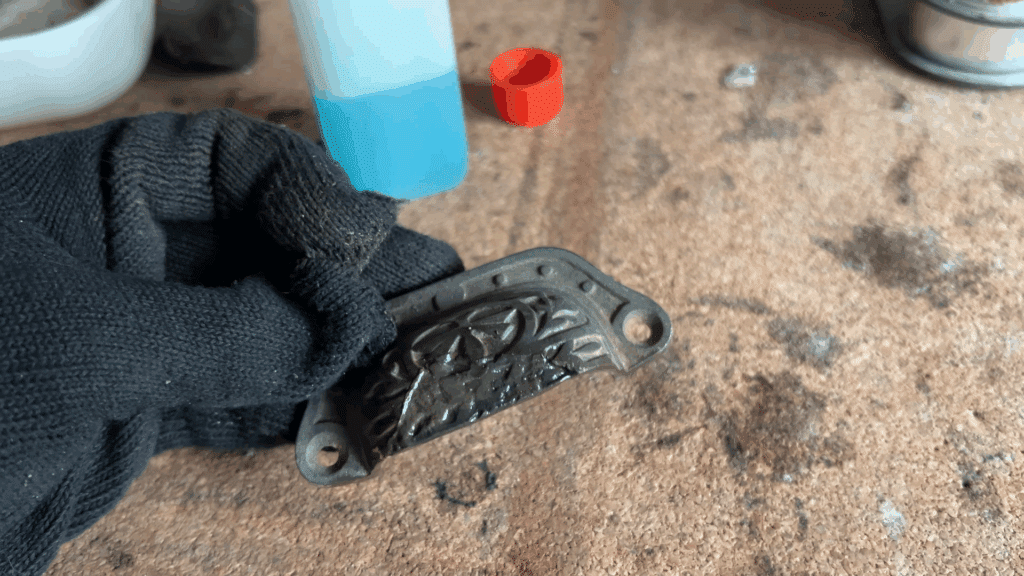
Now it was time to restore the handles I had removed earlier. For this, I love using one of my favorite hacks: a slow cooker! You simply place the handles in water, add a bit of baking soda and let the slow cooker do its work for a few hours. The result is fantastic, dirt, old paint and built-up grime come off almost effortlessly.
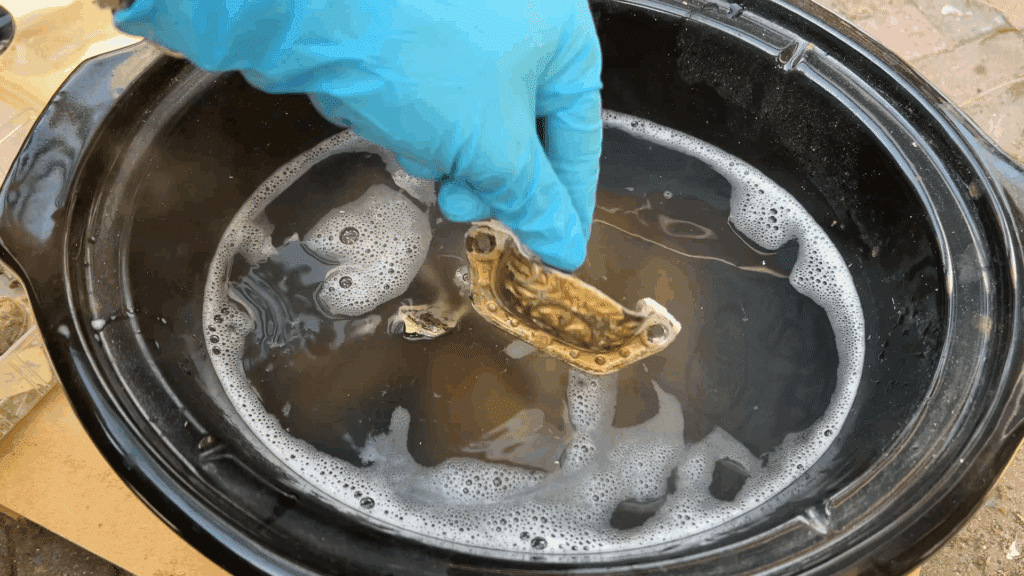
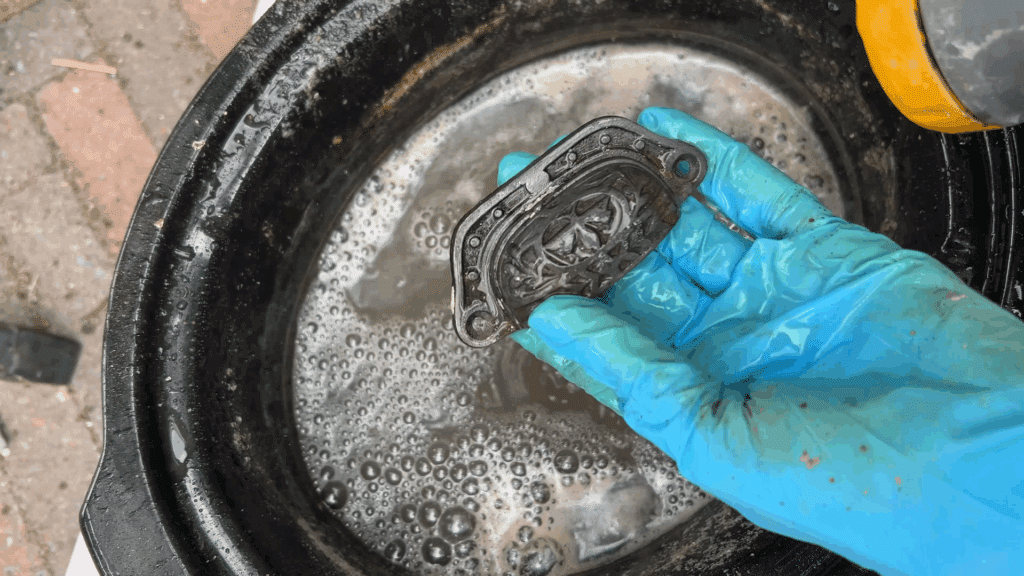
To remove the last bits of residue, I carefully scrubbed the handles with a small wire brush. This revealed beautiful cast-iron handles in their original state. As a finishing touch, I applied a thin layer of paraffin oil to protect them and give a subtle, elegant shine.
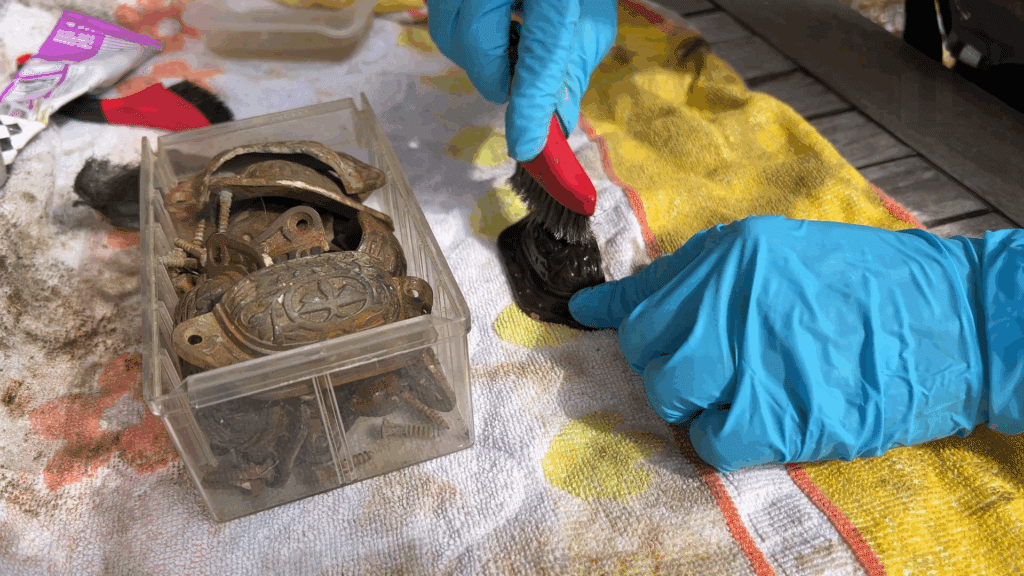
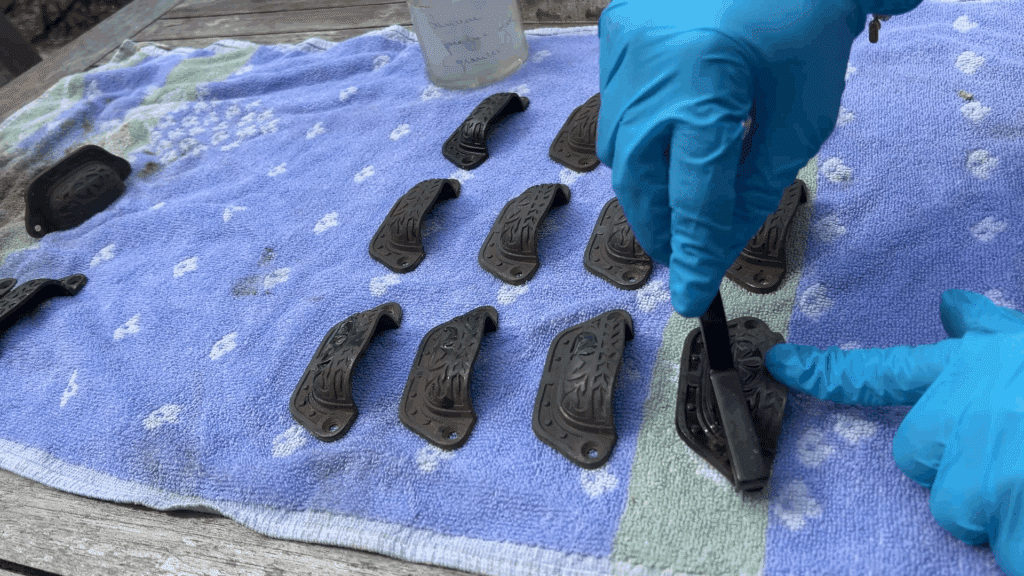
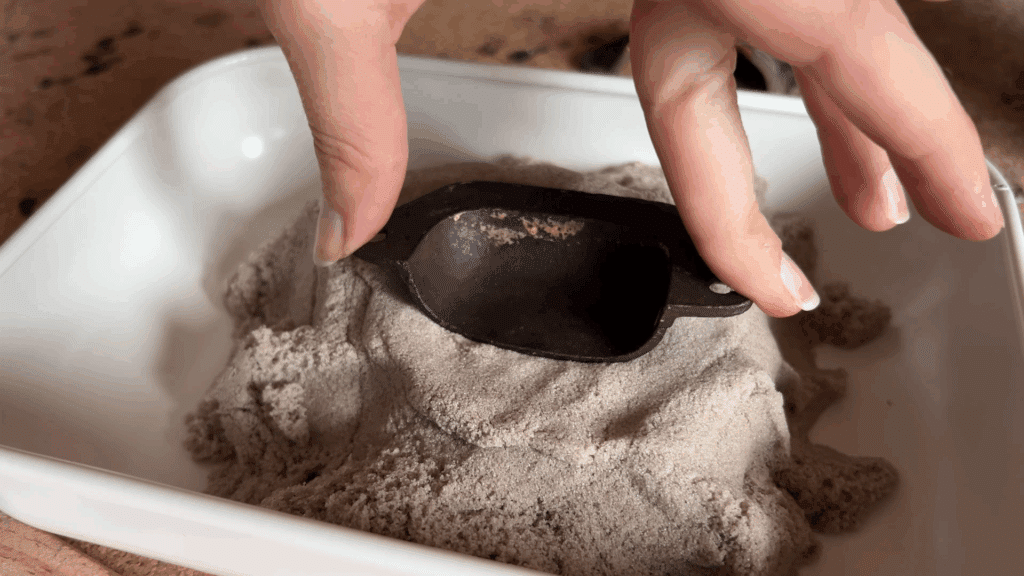
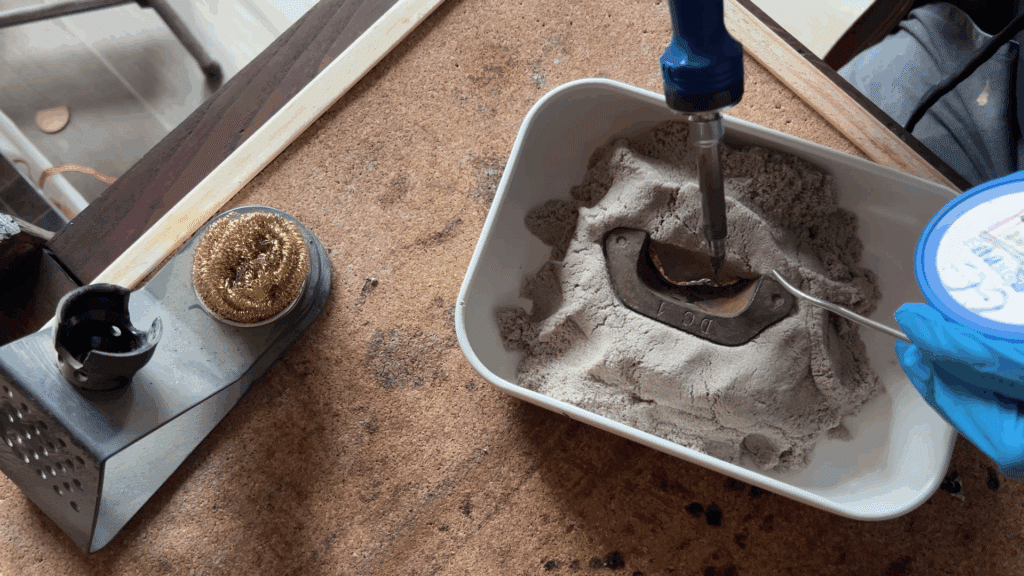
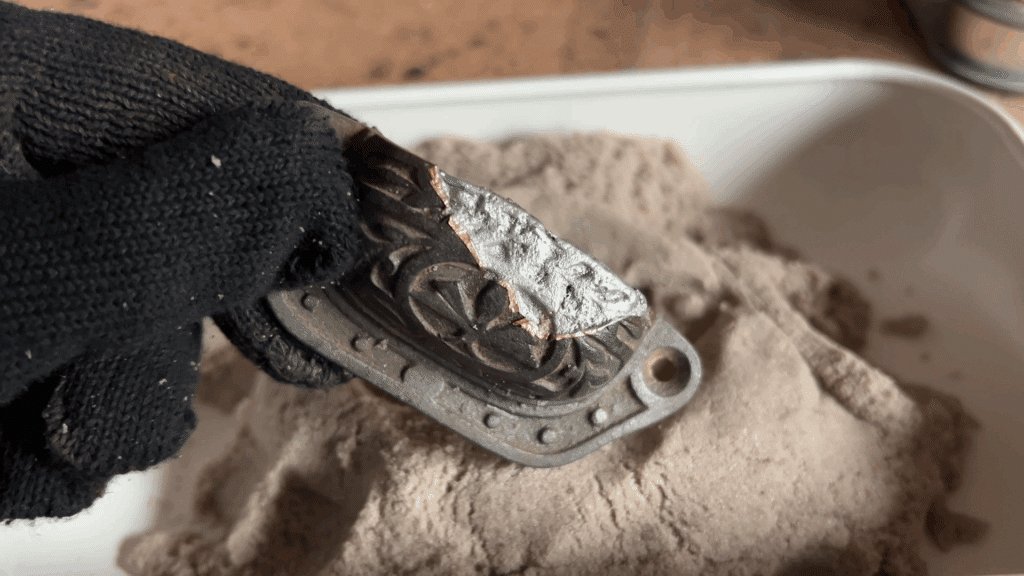
Now it was time to tackle the two broken handles. For this, I used a creative technique: first, I made a mold out of kinetic sand, shaping it to match the missing part. Then I melted pewter and carefully dripped it into the mold to recreate the broken section.
This process takes some patience and experimentation, but the result is unique: you get a repair that preserves as much of the original look of the cast-iron handles as possible.
As a final step, I applied a patina to the new piece. This darkened the metal to a deep black, allowing the repair to blend almost seamlessly with the rest of the handle.
It was the first time I had tried this technique, so the result wasn’t completely perfect. Still, it was a valuable learning experience. Along the way I made a few mistakes that I’ll definitely approach differently next time and ones you can avoid if you’re restoring antique furniture yourself. Want to see exactly how I did it and what the final result looked like? Be sure to check out my YouTube video, where I show the entire method step by step and share how I’d improve it in the future!
Step 6: Rebuilding the Antique Cabinet
Now that the entire cabinet had been taken apart, the paint carefully removed and the handles cleaned and restored, it was finally time to begin rebuilding. In a restoration, this moment always feels like a turning point, the foundation is laid, and the piece can finally start to take shape again.
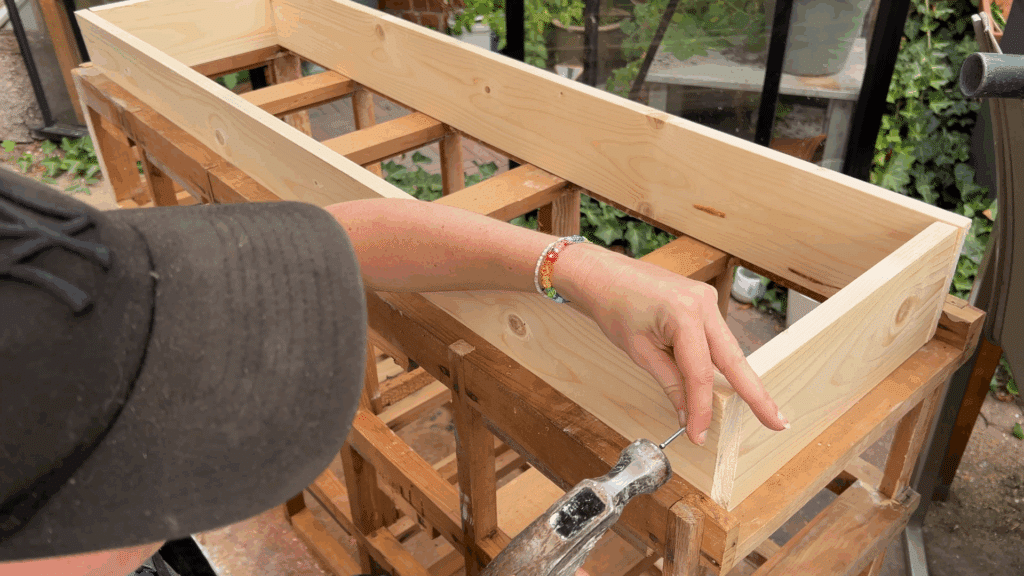
As the first step, I built a new wooden base for the apothecary cabinet. I paid close attention to making sure the shape and style matched the period design, so the cabinet would keep its authentic character.
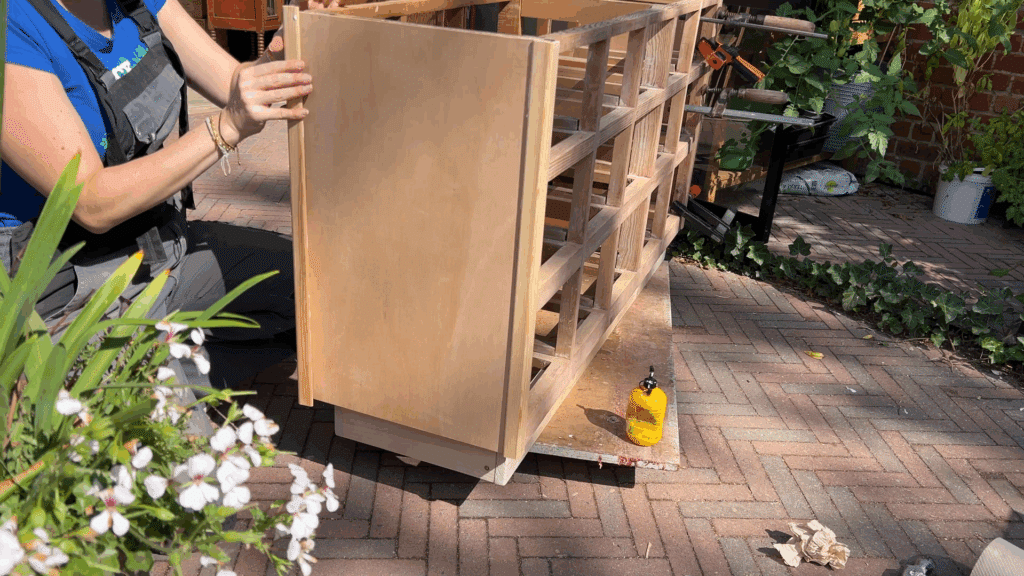
After that, I built new side panels out of sturdy plywood. On their own, they looked a bit flat and modern, so I carefully finished the corners with wooden trim. This way everything blended smoothly with the rest of the cabinet, and the piece kept its classic, antique appearance.
Step 7: Refinishing the Antique Cabinet
Once the cabinet was fully rebuilt, it was time to bring the wood grain back to life with some color. For this project, I chose a walnut colored stain. This warm tone not only added depth and character to the wood but also created a beautiful contrast with the original ochre-yellow drawer fronts.
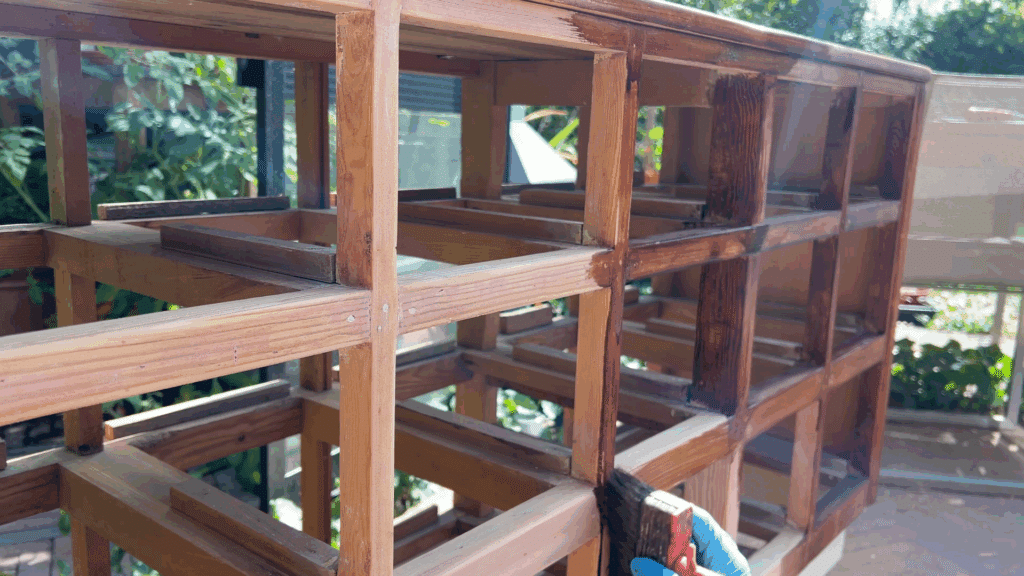
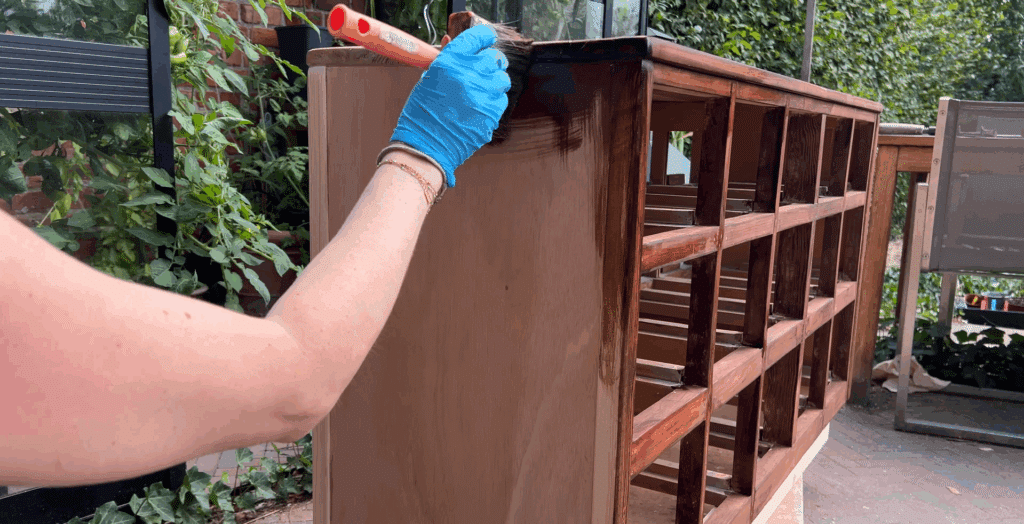
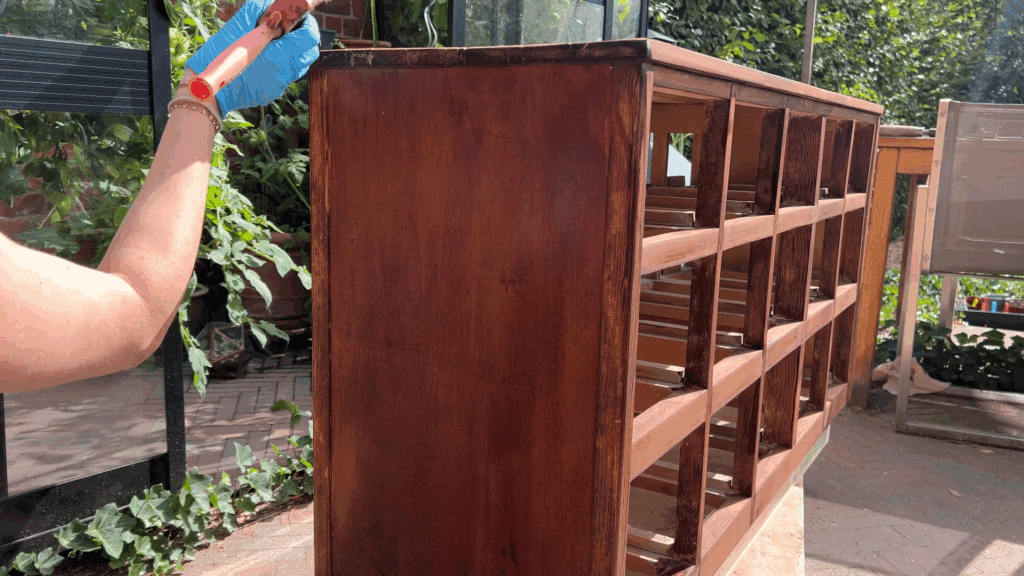
When restoring antique furniture, it often comes down to choices like this: which color, finish, or stain will best highlight the character of the piece and bring out its authentic details? In this case, the walnut stain gave the antique apothecary cabinet exactly the look I wanted—a balance between renewed and historic.
Step 8: Applying a Shellac Finish to the Antique Apothecary cabinet
To finish everything beautifully, I applied a shellac-based varnish. I use this product not only to preserve the paint on the drawer fronts, but also to give the wood a warm glow and a subtle shine. Shellac has been a classic finishing material in antique furniture restoration for centuries, because it respects and enhances the original character of the piece.
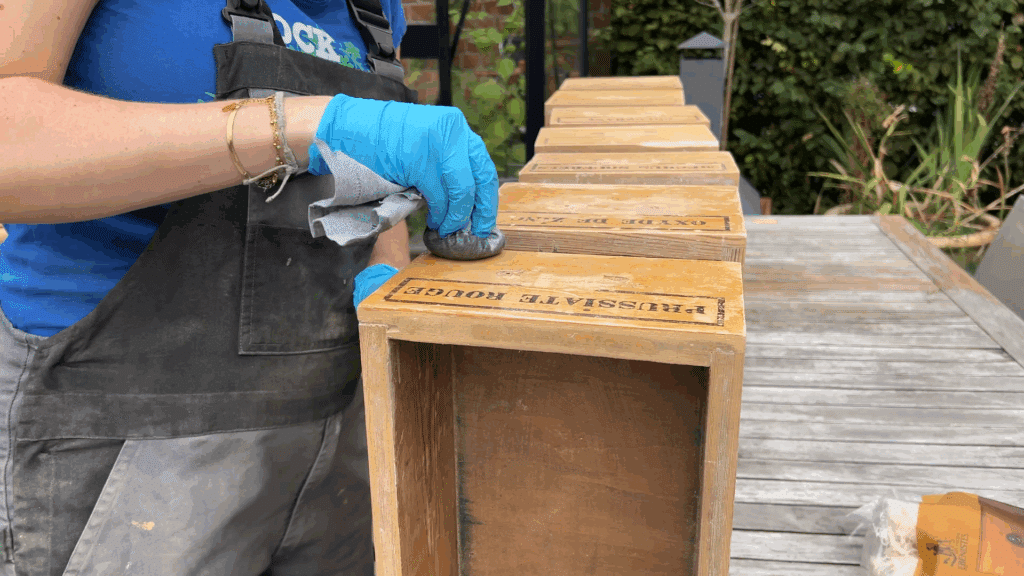
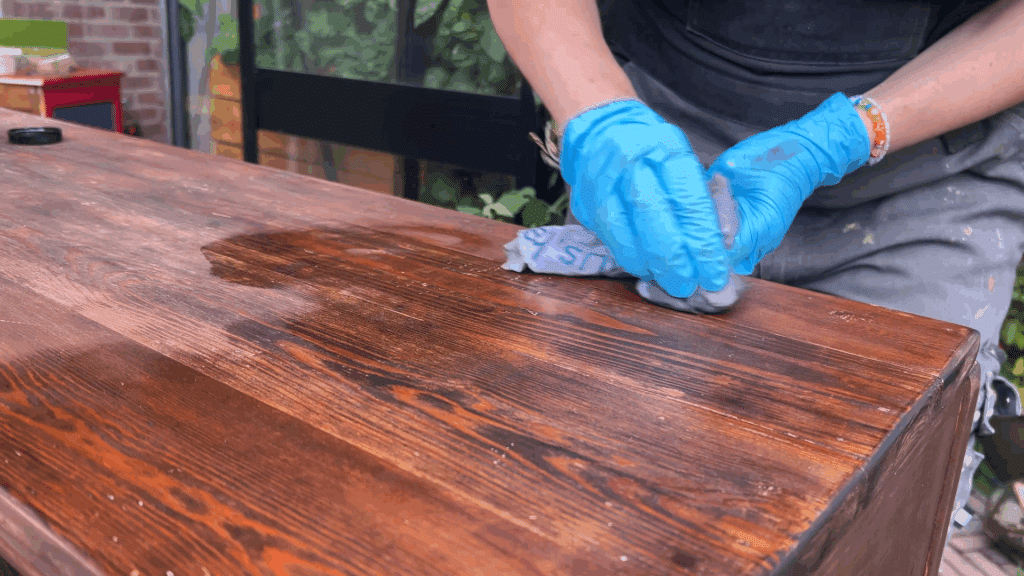
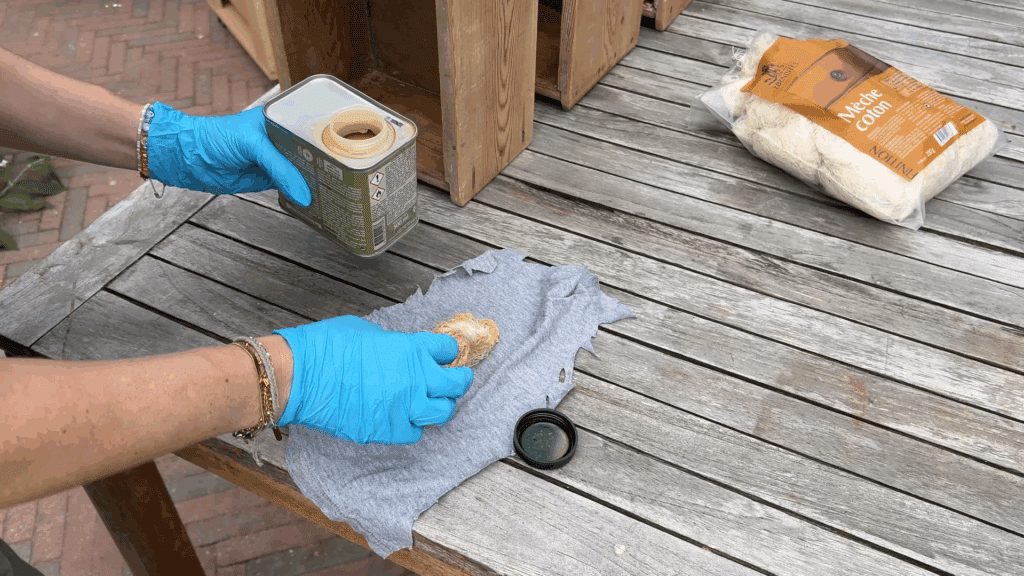
Applying shellac takes patience and technique. For this, you use a cotton pad shaped into a ball. Dip the pad lightly into the shellac and rub it onto the surface in circular motions. The key is to work in thin layers, several light applications are always better than one thick coat.
Between layers, let the shellac dry completely so the surface doesn’t become sticky. After a few coats, the wood develops a deep shine, giving the antique apothecary cabinet a warm and authentic look.
Another advantage of shellac is that it’s reversible: if future restoration is ever needed, the finish can be removed or repaired relatively easily. This makes it an ideal choice for anyone restoring antique furniture who wants to preserve the authenticity of a piece.
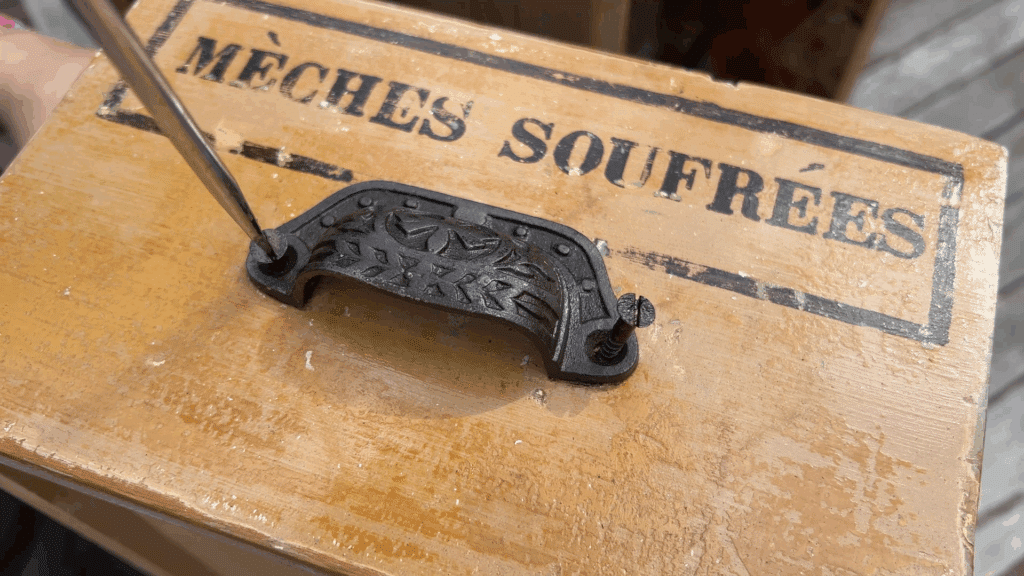
As the final step, all that was left was to firmly reattach the handles to the drawers. With that, everything finally came together, and the moment I had been working toward all along had arrived: revealing the finished result. After so many hours of work, this was the true highlight of the antique restoration, seeing the cabinet in its renewed glory, with full respect for its history and ready for a second life.
The Final Result: Was It Worth It?
When I bought this cabinet for €100, I seriously wondered if I had overpaid. In the first stages, it seemed more like a bad purchase than a valuable piece: MDF, laminate and endless layers of paint. But step by step, a very different story began to emerge.
The discovery of the original labels, the endless scraping of paper, the repair of the broken handles and the complete rebuild of the structure made this project a true challenge. Yet this is exactly what makes antique furniture restoration so special. You never know exactly what you’ll encounter, but each phase brings you closer to the history of the piece.
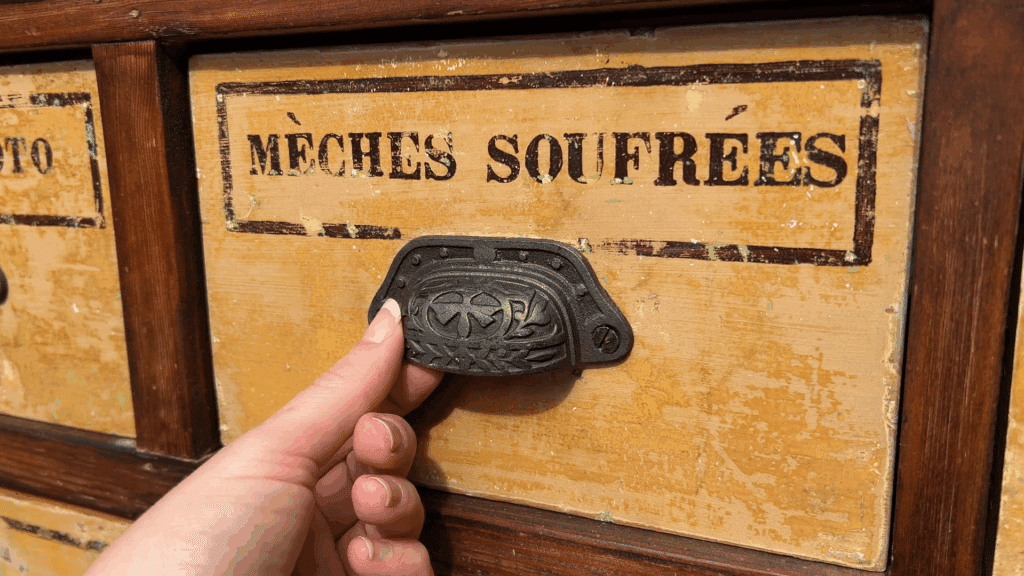
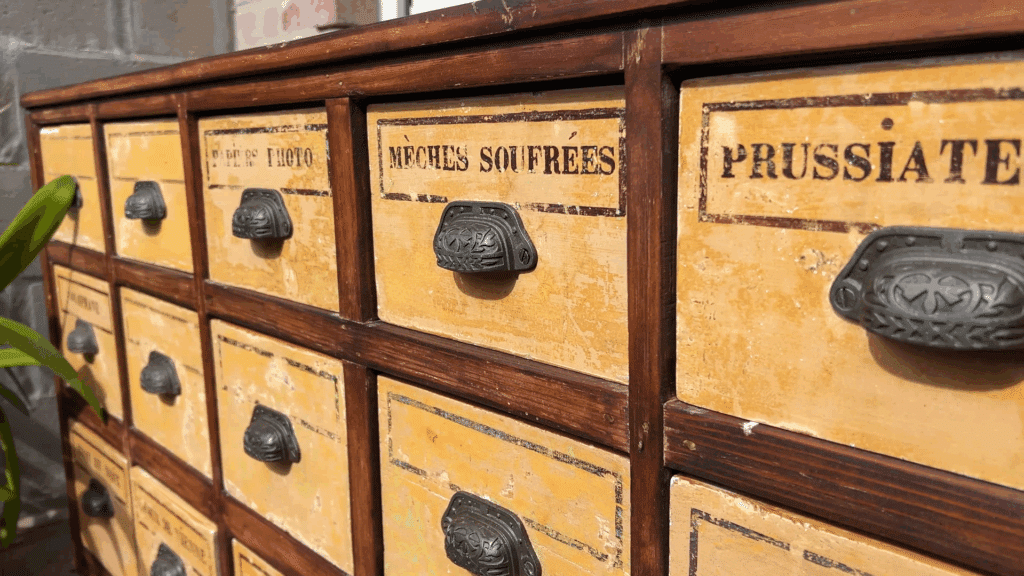
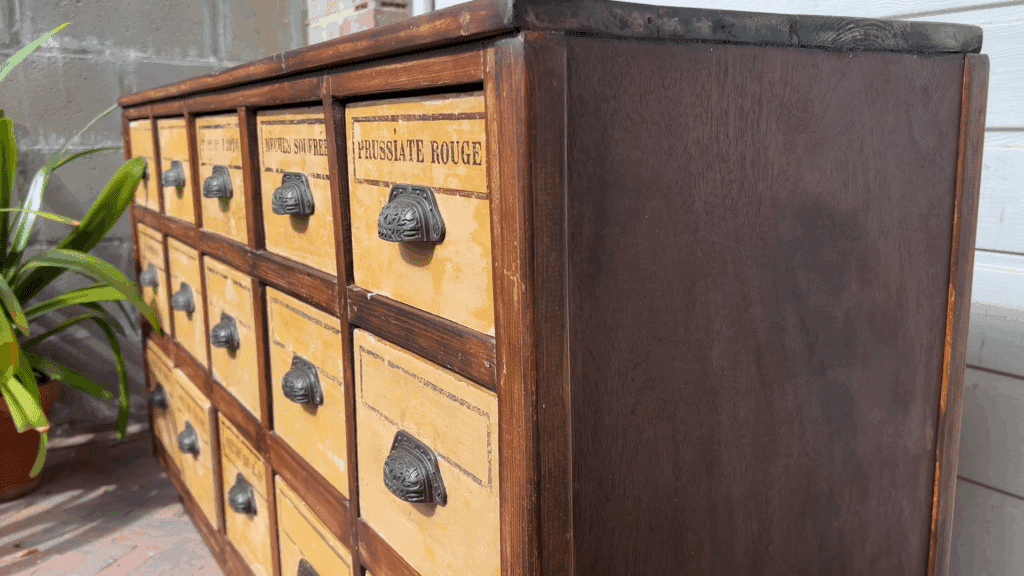
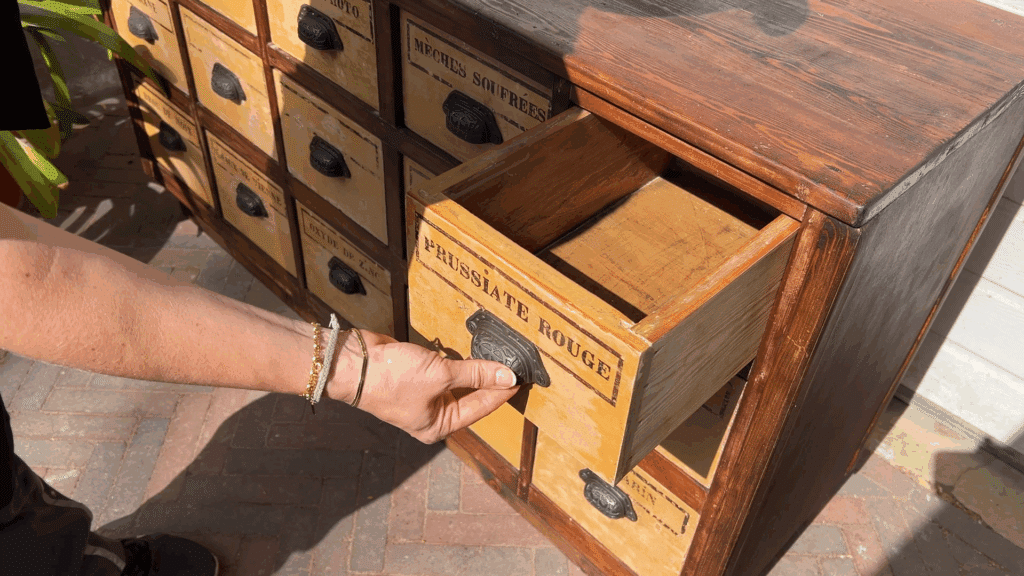
The final result is not a perfect, glossy showroom cabinet. It’s a piece that proudly carries its past, its patina, its scars and its stories. For me, that’s the true essence of antique furniture restoration: not making everything look brand-new, but preserving authenticity and giving a piece a meaningful second life.
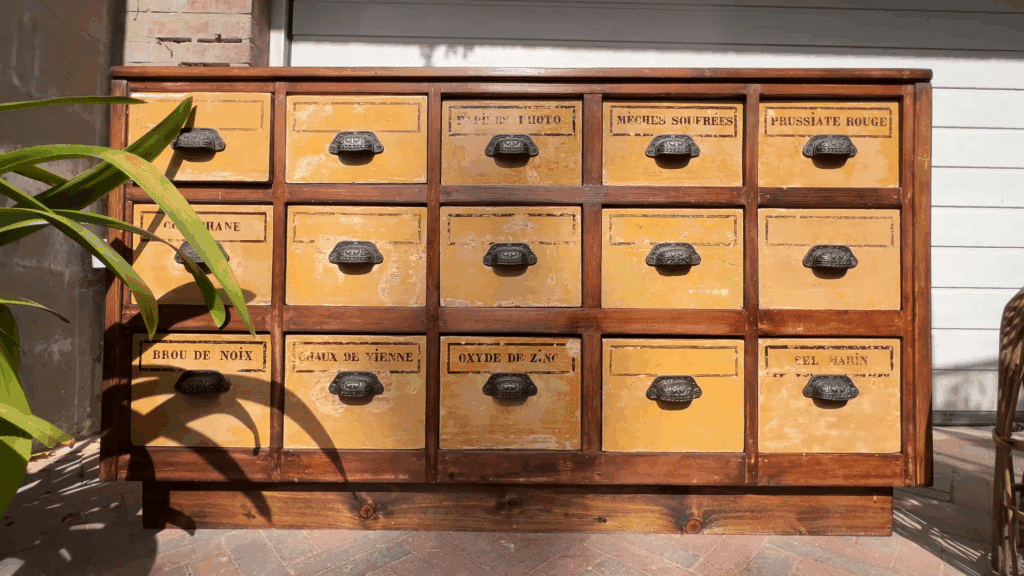
Was this antique apothecary cabinet really worth the €100? I’ll let you be the judge of that. For me personally, the experience, the lessons learned, and the final result were worth far more than the initial investment.
Be sure to watch my YouTube video for even more steps and details from this antique restoration that I couldn’t fully cover in this blog post. In the video, you’ll see the entire process!
View more Expert Insights here

Amy is a furniture restorer and the creator behind 2ndlife Furniture Restoration. With a passion for giving antique and vintage pieces a second life, she documents each project step by step on her YouTube channel and blog. Her work focuses on antique furniture restoration and refinishing, always with the aim of preserving authenticity. Her YouTube videos highlight the full transformation process in a visually pleasing and calming style, perfect to watch while unwinding with a cup of coffee or tea. Please address inquiries to: 2ndlife.furniture.official@gmail.com


